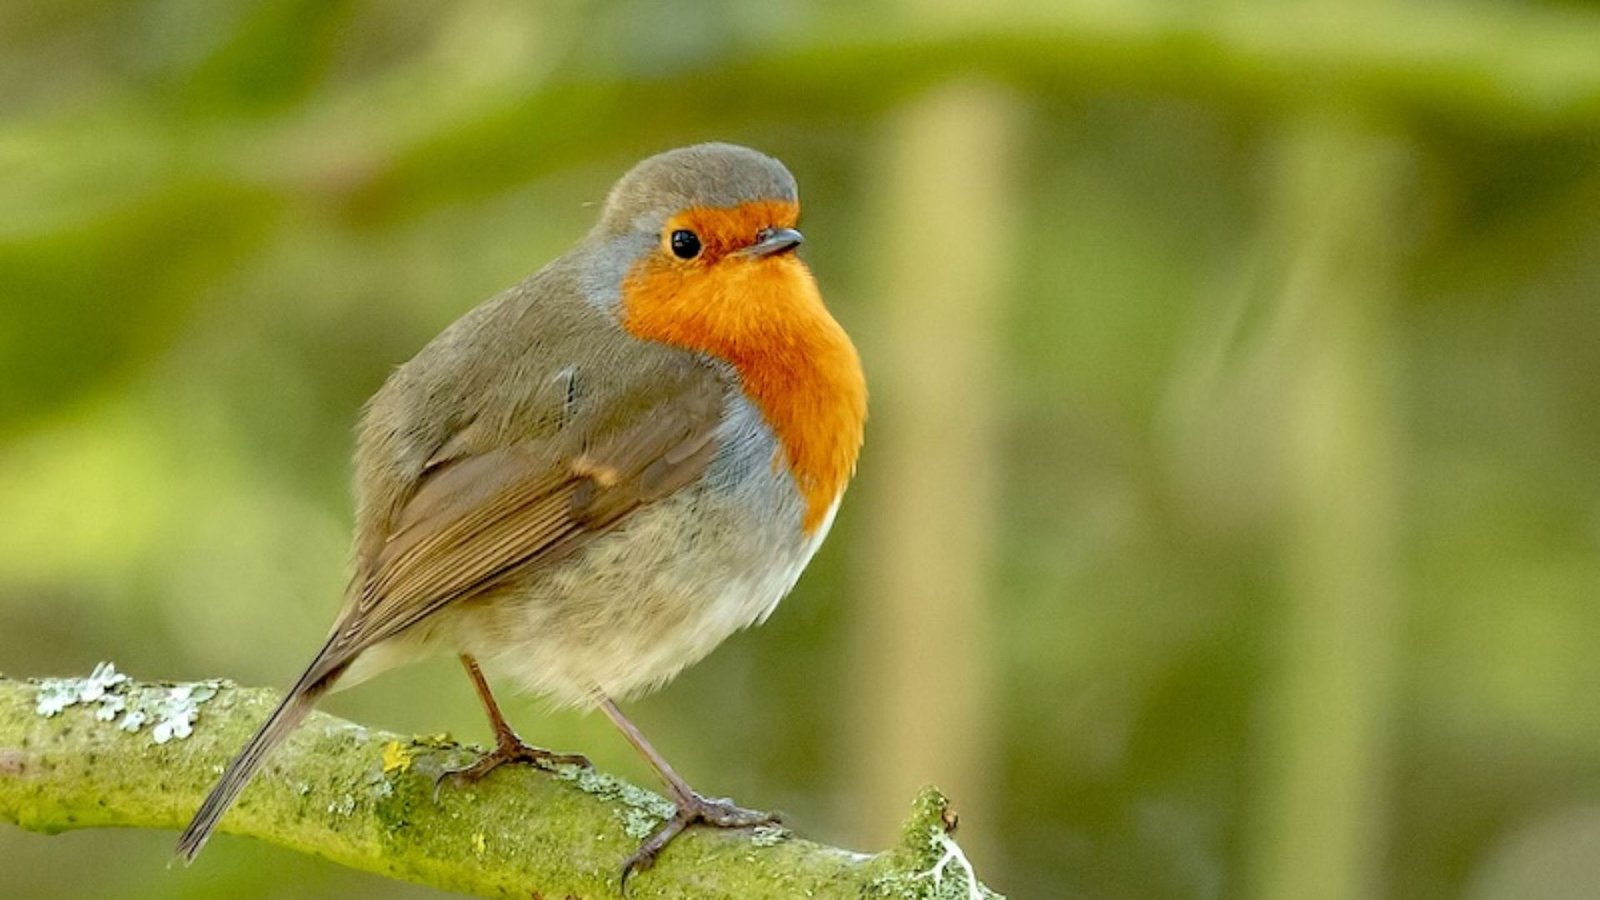
Photographing wildlife in low light conditions can be challenging, but with the right techniques and equipment, you can capture breathtaking images. Whether you’re shooting at dawn, dusk, or in dense forests, here are some tips to help you succeed.

Use the Right Equipment
1. Fast Lenses
Invest in lenses with a wide maximum aperture, such as f/2.8 or lower. These lenses allow more light to reach the camera sensor, making them ideal for low-light conditions. They also help create a shallow depth of field, isolating your subject from the background.
2. Full-Frame Cameras
Full-frame cameras generally perform better in low light due to their larger sensors, which capture more light and produce less noise at higher ISO settings. If you frequently shoot in low-light environments, consider using a full-frame camera.
3. Use a Tripod
A sturdy tripod is essential for low-light photography. It helps stabilize your camera, allowing you to use slower shutter speeds without introducing camera shake, which is crucial for sharp images in low light.
Optimize Your Camera Settings
1. Increase ISO Sensitivity
Increasing your camera’s ISO setting makes the sensor more sensitive to light, allowing you to shoot at faster shutter speeds. However, higher ISO settings can introduce noise, so find a balance that works for your camera. Modern cameras often handle ISO levels up to 1600 or 3200 well without significant loss of image quality.
2. Use a Slower Shutter Speed
In low light, slowing down your shutter speed allows more light to enter the camera. However, this can introduce motion blur, especially if your subject is moving. To minimize this, use a tripod or stabilize your camera on a solid surface. If your subject is stationary, a slower shutter speed can work well.
3. Shoot in Aperture Priority Mode
In aperture priority mode, you set the aperture, and the camera automatically adjusts the shutter speed to achieve the correct exposure. This is useful in low light because you can set your lens to its widest aperture to allow in as much light as possible.
4. Enable Image Stabilization
If your lens or camera body has image stabilization, make sure it’s turned on. This feature reduces the risk of blur from camera shake, which is particularly important when shooting handheld in low light.
Use Natural Light to Your Advantage
1. Shoot During the Golden Hour
The golden hour, shortly after sunrise or before sunset, offers soft, diffused light that’s perfect for wildlife photography. This time of day provides enough light to work with while creating a beautiful, natural glow around your subject.
2. Use Available Light Sources
Look for natural light sources such as the moon, stars, or distant city lights. These can add a unique atmosphere to your photos. Position yourself to take advantage of any available light, even if it’s just a sliver of light filtering through the trees.
3. Embrace Silhouettes
In low-light conditions, silhouettes can be powerful. Position your subject against a brighter background, such as the sky at sunset, to create a striking silhouette. This technique emphasizes the shape and posture of the animal, creating a dramatic effect.
Focus Techniques
1. Manual Focus
In low light, your camera’s autofocus system may struggle. Switching to manual focus allows you to take control and ensure that your subject is sharp. Use your camera’s live view mode and zoom in on your subject to fine-tune the focus.
2. Use Focus Peaking
If your camera offers focus peaking, use it to highlight the in-focus areas of your image. This feature is particularly helpful in low light, as it makes it easier to see which parts of your scene are sharp.
Post-Processing Tips
1. Reduce Noise
Even with careful settings, low-light images may have some noise. Use post-processing software like Adobe Lightroom or Photoshop to reduce noise without sacrificing too much detail. Be cautious not to overdo it, as excessive noise reduction can make your images look soft.
2. Adjust Exposure
Low-light images may require exposure adjustments in post-processing. Brighten your image slightly to bring out details, but be mindful of maintaining a natural look. Adjust shadows and highlights to achieve the desired contrast.
3. Enhance Colors and Contrast
Low-light images can sometimes appear flat. Enhance the colors and contrast in post-processing to bring your photo to life. Subtle adjustments can make a big difference in the overall impact of your image.
Conclusion
Photographing wildlife in low light conditions presents unique challenges, but with the right techniques and equipment, you can capture stunning images. Focus on maximizing the available light, adjusting your camera settings for optimal exposure, and refining your photos in post-processing. With practice and patience, you’ll be able to capture the beauty of wildlife even in the most challenging lighting situations.


