Video editing is a crucial skill for anyone looking to produce polished content, whether for personal projects, YouTube, or professional work. While the process can seem overwhelming at first, understanding the basics will give you the foundation to create stunning videos. This guide will cover the key steps, tools, and techniques needed to get started with video editing.

Choosing the Right Video Editing Software
Free vs. Paid Software
The first step in video editing is selecting the right software. Free tools like iMovie, DaVinci Resolve, or HitFilm Express are great for beginners, offering all the essential features without a steep learning curve. Paid software such as Adobe Premiere Pro, Final Cut Pro, or Sony Vegas provides more advanced features but requires a subscription or one-time purchase.
When choosing software, consider your level of experience, the complexity of your projects, and the features you need. Start with free options if you’re a beginner, and upgrade as your skills progress.
Understanding the Editing Timeline
Arrange Clips in a Sequence
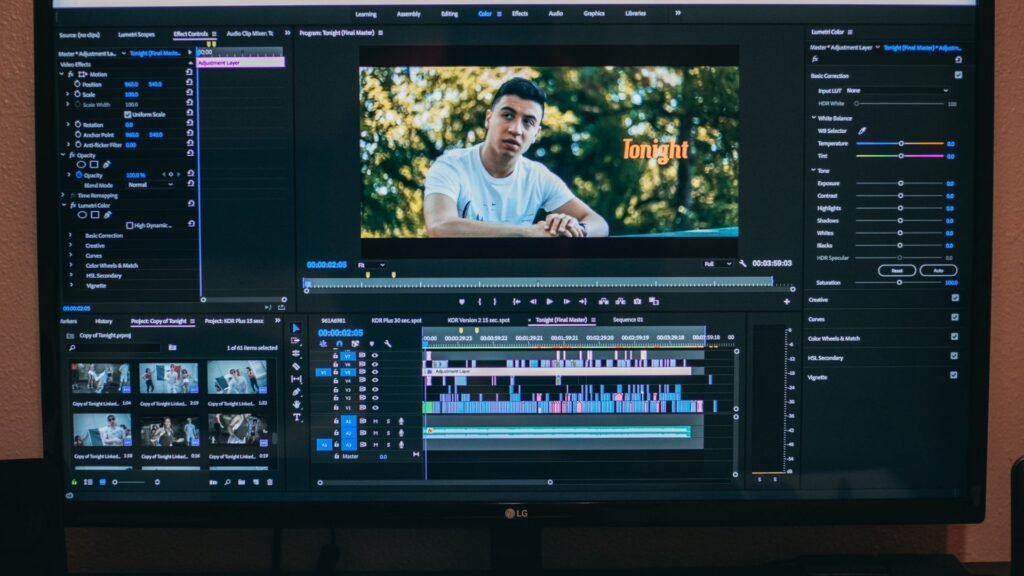
The timeline is the heart of any video editing software. It’s where you arrange and trim your clips to create a sequence. In most cases, you’ll be working with layers of video and audio tracks, allowing you to add transitions, effects, and music.
Working with Layers
Video editing programs operate with multiple layers—meaning you can stack video clips, audio tracks, text overlays, and effects. This allows for complex edits, like picture-in-picture or background music under dialogue.
Importing and Organizing Your Media
Importing Files
The first step in your project is to import all your video footage, audio files, and any additional media (such as images or logos) into your editing software. Most programs allow you to drag and drop files directly into the workspace.
Organize Your Media
Good organization is crucial to speeding up your editing process. Create folders or bins within your software to categorize different types of footage (e.g., raw footage, b-roll, music, etc.). Label your files with clear names to avoid confusion later in the project.
Basic Cuts and Transitions
The Rough Cut
Start by creating a rough cut, which involves trimming your clips to include only the necessary footage and placing them in the correct sequence. Use the trim or cut tool in your software to remove any unwanted parts of the clips. Focus on the overall flow of the video before adding transitions and effects.
Adding Transitions
Once you have a rough cut, transitions help smooth the jump from one clip to another. The most common transition is a simple cut, which instantly switches from one scene to the next. More advanced transitions include fade-ins, fade-outs, and cross-dissolves. These can add a professional touch but should be used sparingly to avoid making your video look over-edited.
Working with Audio
Syncing Audio and Video
If you’re recording audio separately (e.g., with an external microphone), you’ll need to sync it with your video footage. Most editing programs have automatic syncing features, but you can also manually match the audio and video by aligning waveforms or using visual/audio cues like a clapperboard.
Adjusting Volume Levels
Balancing audio levels is critical for a professional finish. Ensure that dialogue is clear and easy to hear, and lower the background music volume so it doesn’t overpower the main audio. Most software has an audio mixing panel where you can control the levels for each audio track.
Using Sound Effects and Music
Adding background music and sound effects can elevate your video. Make sure the music complements the mood of your content, and use sound effects for actions like door slams, footsteps, or ambient noise. Always choose royalty-free music or properly licensed tracks to avoid copyright issues.
Adding Titles and Text
Text Overlays
Adding text overlays, such as lower thirds (used to introduce people or locations), is a simple yet effective way to enhance your video. Most editing software includes built-in templates for titles and text effects. Make sure your fonts are easy to read and fit the style of your video.
Using Subtitles
Subtitles are not only great for accessibility but also for engaging viewers who may be watching without sound (e.g., on social media). Many editing programs offer subtitle creation tools, or you can add captions manually by creating a text layer.
Basic Color Correction
Adjusting Brightness, Contrast, and Saturation
Color correction involves adjusting your video’s brightness, contrast, saturation, and white balance to make the footage look consistent and professional. Most editing software provides tools for basic color correction. Start with small adjustments, ensuring the colors appear natural and not overly saturated or dark.
Color Grading for Mood
While color correction focuses on fixing issues, color grading is an artistic choice that sets the mood of your video. For example, cool blue tones can create a somber atmosphere, while warm orange hues convey a feeling of warmth and energy. Many software programs come with pre-set LUTs (Look-Up Tables) to make color grading easier.
Exporting Your Video
Choosing the Right Format
Once your video is complete, the final step is exporting. Choose the appropriate export format depending on where the video will be shared. For YouTube or social media, MP4 with an H.264 codec is a common choice because it offers a good balance between file size and quality. Always check the platform’s recommended resolution and frame rate for best results.
Quality Settings
When exporting, pay attention to the resolution (1080p, 4K, etc.) and bitrate, which affects video quality. Higher bitrates produce better quality but result in larger file sizes. Most platforms like YouTube have settings that compress your video, so balance quality with file size for faster uploads.
Conclusion
Mastering the basics of video editing is all about practice and experimentation. As a beginner, start with simple cuts, transitions, and adjustments to get comfortable with your software. Over time, you’ll be able to incorporate more advanced techniques like color grading, audio mixing, and effects. With the right tools and patience, you can create high-quality, professional-looking videos.


