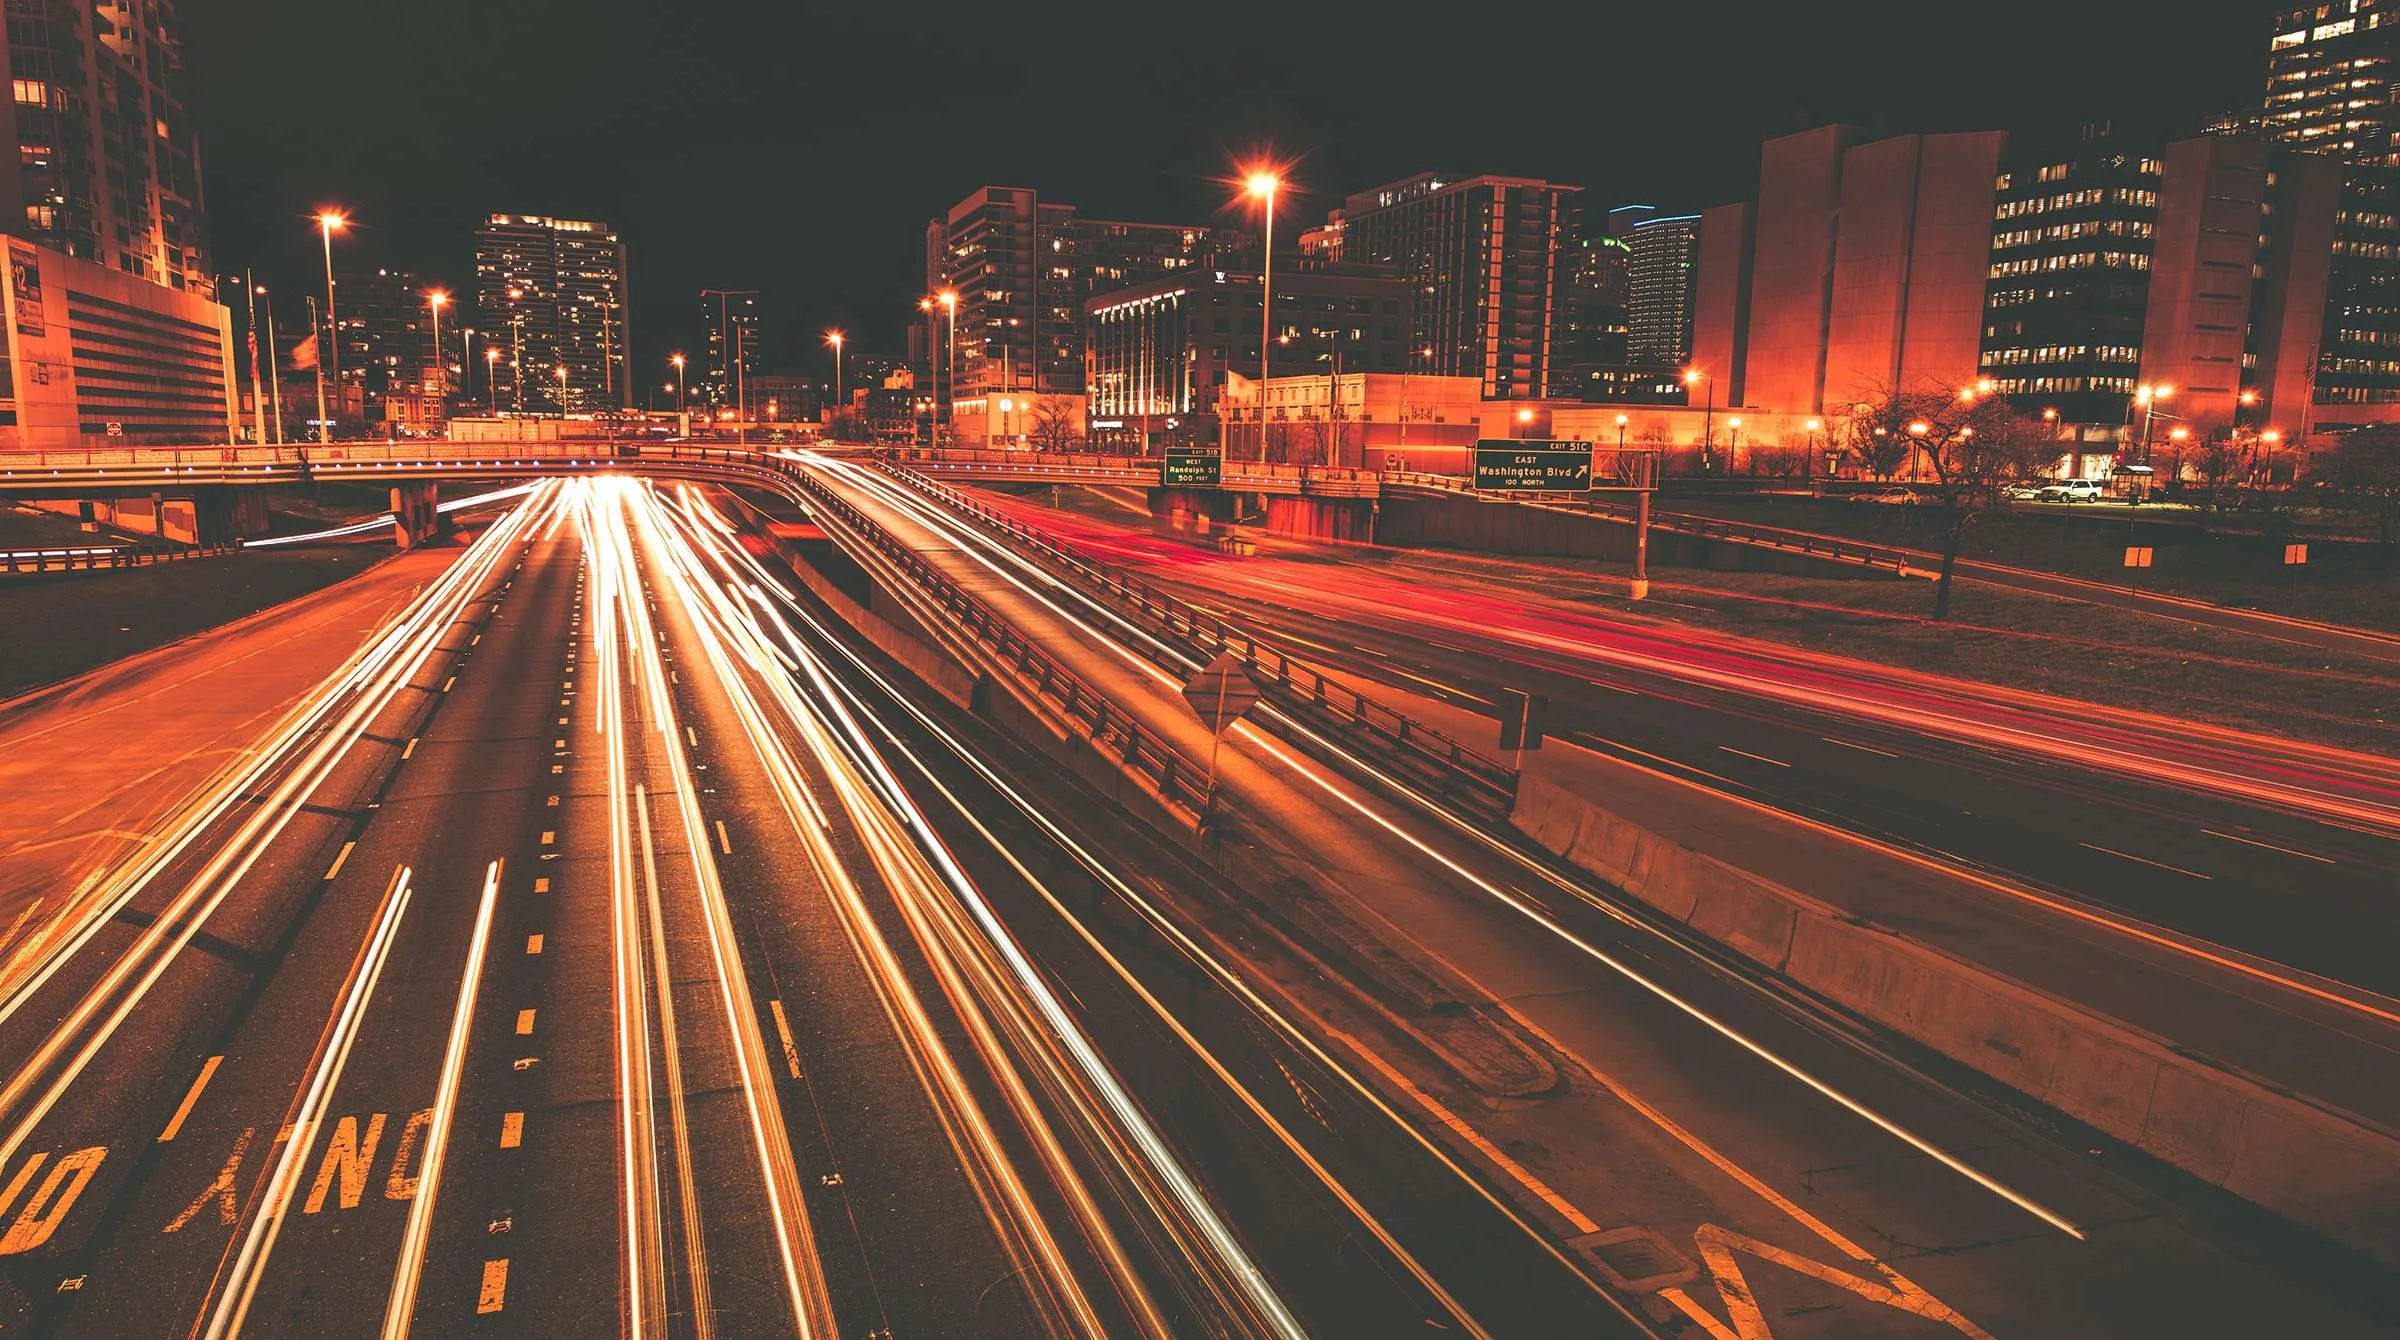
Time-lapse videos are a captivating way to compress time and showcase the passage of time in a visually engaging manner. Whether you’re capturing the hustle and bustle of a city, the serene beauty of nature, or the intricate process of a project, mastering time-lapse techniques can add a dynamic element to your video content. Here’s a comprehensive guide on how to shoot and edit stunning time-lapse videos.
1. Understanding Time-Lapse Photography
Time-lapse photography involves taking a series of photographs at set intervals over a period of time and then combining them into a video. This technique allows you to capture slow or subtle changes that are often imperceptible in real-time.
Key Concepts:
- Interval: The time between each photograph. Short intervals capture fast-moving scenes, while longer intervals are suited for slow processes.
- Frame Rate: The number of frames per second (fps) in the final video. Standard frame rates include 24, 30, or 60 fps.
Tip: Choose an interval that fits the speed of the action you’re capturing. For example, photographing every minute for a sunset will result in a smooth time-lapse.

2. Essential Gear for Time-Lapse Videos
To create high-quality time-lapse videos, you’ll need the right equipment. Here’s what you’ll need:
- Camera: A DSLR or mirrorless camera with manual settings and intervalometer capabilities is ideal. Some cameras have built-in time-lapse functions.
- Tripod: A sturdy tripod is essential to keep your camera stable and maintain a consistent frame throughout the shoot.
- Intervalometer: A device or app that controls the timing and frequency of your shots. Many cameras have built-in intervalometers or you can use external ones.
- Storage: High-capacity memory cards and extra batteries are crucial, especially for long shoots.
Tip: Test your setup before starting your main shoot to ensure everything is functioning correctly.
3. Shooting Your Time-Lapse Video
Pre-Shoot Preparation:
- Plan Your Scene: Decide what you want to capture and plan your composition. Consider factors like lighting, movement, and framing.
- Set Up Your Camera: Position your camera on a stable tripod and frame your shot. Ensure that the scene is well-lit and that the camera is not in a position where it can be accidentally moved or disturbed.
Camera Settings:
- Manual Mode: Use manual mode to control exposure settings and avoid automatic adjustments during the shoot.
- Focus: Set your focus manually to ensure it remains consistent throughout the time-lapse.
- Aperture and Shutter Speed: Choose an aperture that gives you a good depth of field and a shutter speed that suits the movement in your scene. A rule of thumb for shutter speed is to set it at twice the interval (e.g., if your interval is 10 seconds, set the shutter speed to 1/20 second).
During the Shoot:
- Monitor Battery Life: Keep an eye on your camera’s battery and storage. Consider using an external power source for extended shoots.
- Check for Interferences: Ensure that nothing obstructs the camera’s view or interferes with the shooting process.
Tip: Take test shots to ensure your settings are correct before starting the full shoot.
4. Editing Your Time-Lapse Video
Import and Organize:
- Transfer Files: Move your photos to your computer and organize them in the correct sequence.
- Choose Editing Software: Software like Adobe Premiere Pro, Final Cut Pro, or free options like DaVinci Resolve can be used for editing.
Editing Steps:
- Import Photos: Load your sequence of images into your editing software. Most editing programs will allow you to import a sequence as a video clip.
- Set Frame Rate: Adjust the frame rate to match your desired output (e.g., 24 fps or 30 fps).
- Adjust Speed and Timing: Fine-tune the speed of your time-lapse to ensure it flows smoothly. You can also add effects, transitions, or music to enhance the final video.
- Color Correction: Apply color correction and grading to ensure consistency and enhance the visual appeal of your footage.
Exporting:
- Choose Export Settings: Select the appropriate resolution and file format for your video. Common formats include MP4 for web use and MOV for high-quality exports.
- Render and Export: Export your video and review it to ensure there are no issues with playback or quality.
Tip: Review your time-lapse video at different speeds to ensure it looks smooth and cohesive.
5. Tips for Creating Stunning Time-Lapse Videos
- Choose the Right Subject: Select subjects with noticeable changes over time, such as cloud movements, cityscapes, or natural phenomena.
- Experiment with Angles and Perspectives: Different angles and perspectives can add interest and depth to your time-lapse.
- Stabilize Your Footage: If you encounter any shakes or jitters, use stabilization tools in your editing software to smooth out the footage.
- Plan for Weather: For outdoor time-lapses, check the weather forecast and plan accordingly. Weather changes can add unique elements to your video.
Tip: Create a storyboard or plan to visualize the final outcome of your time-lapse video before you start shooting.


