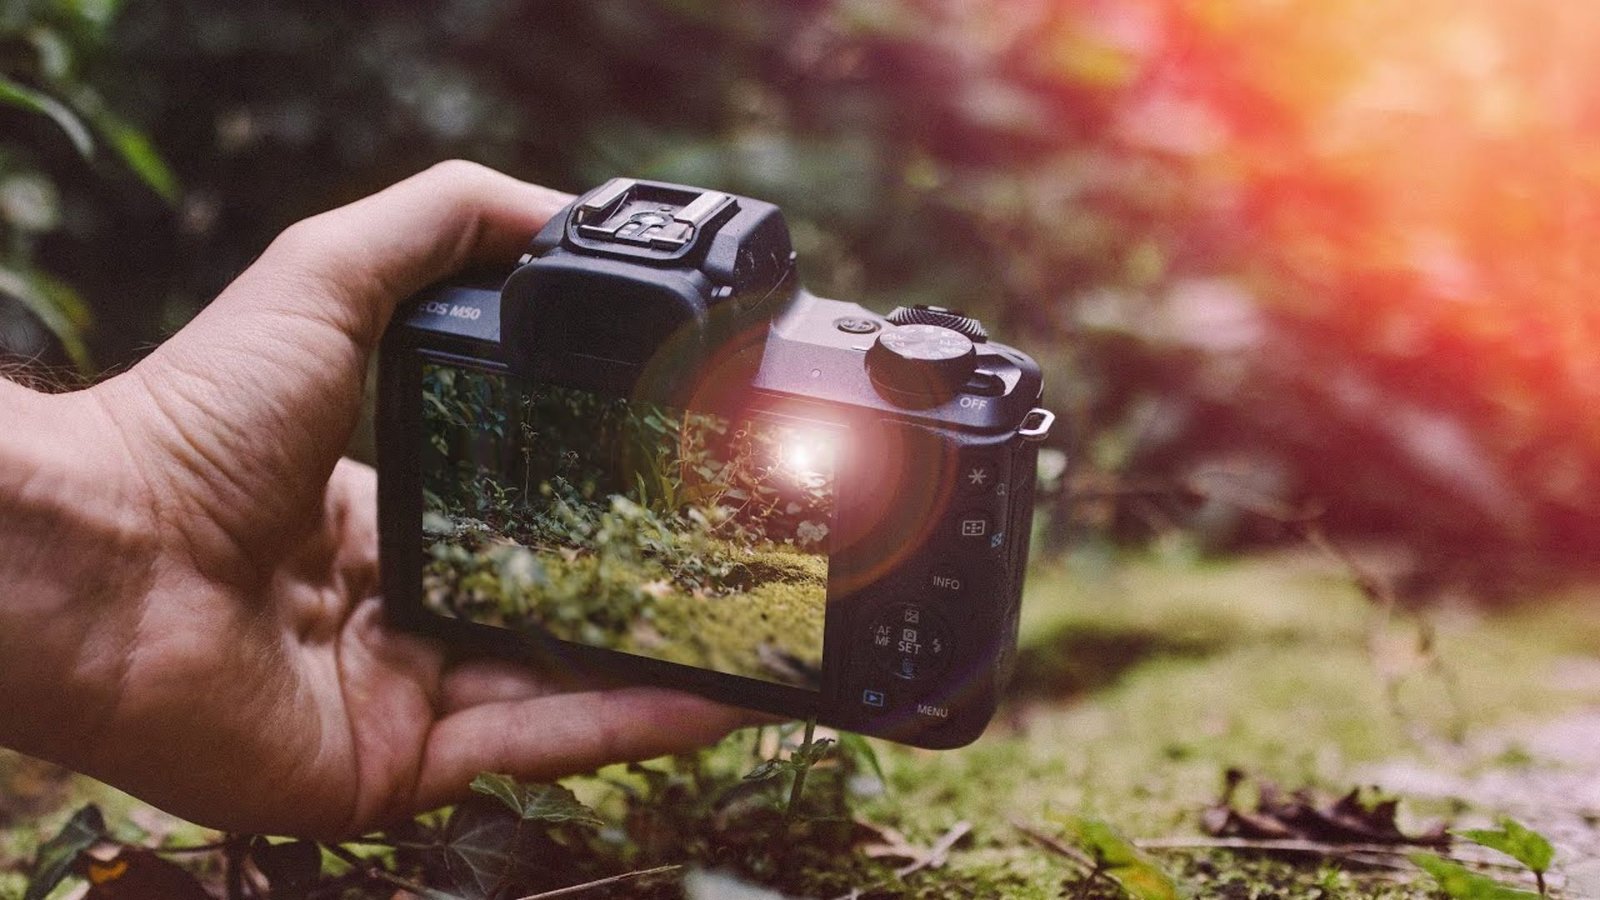
Creating cinematic videos with a DSLR camera involves more than just pointing and shooting. It requires a combination of technical knowledge, creativity, and an understanding of how to use your camera effectively. Below are key tips to help you produce professional-looking cinematic videos with your DSLR.

Choose the Right Frame Rate
24 FPS for a Cinematic Look
To achieve a cinematic feel, set your DSLR to shoot at 24 frames per second (fps). This frame rate is commonly used in movies and provides a natural, smooth motion. Shooting at 30 or 60 fps can make the footage look more like a TV show or documentary, which is generally less cinematic.
Set the Right Shutter Speed
Follow the 180-Degree Rule
The 180-degree rule suggests that your shutter speed should be double your frame rate to create natural motion blur. For instance, if you’re shooting at 24 fps, set your shutter speed to 1/48 or 1/50. This helps give your video a smooth and natural appearance that mimics what the human eye sees.
Use Manual Focus
Achieve Sharp Focus
Autofocus can be unreliable in video mode, especially during complex shots. To maintain control over what’s in focus, switch to manual focus. This is particularly useful for achieving the shallow depth of field that gives cinematic videos their characteristic look. Practice pulling focus manually when your subject moves or when transitioning between different focus points.
Optimize Depth of Field
Create Background Blur (Bokeh)
One of the hallmarks of cinematic video is a shallow depth of field, which isolates your subject by blurring the background. To achieve this, use a fast lens with a wide aperture, such as f/1.8 or f/2.8. This helps focus attention on your subject while creating a soft, defocused background that adds a professional touch.
Use Proper Lighting
Utilize Natural and Artificial Light
Good lighting is crucial for achieving a cinematic look. Natural light works well for outdoor shoots, while controlled artificial lighting can create mood and depth indoors. Use soft light sources to avoid harsh shadows, and consider adding a three-point lighting setup (key light, fill light, and backlight) to shape the subject and enhance depth.
Use ND Filters
When shooting in bright conditions, neutral density (ND) filters are essential. They reduce the amount of light entering the lens without affecting color balance, allowing you to maintain a wide aperture (for shallow depth of field) and the appropriate shutter speed, even in bright daylight.
Stabilize Your Shots
Use a Tripod, Gimbal, or Slider
To avoid shaky footage, which can take away from the cinematic feel, stabilize your DSLR. Tripods are great for static shots, while gimbals or sliders are ideal for smooth camera movements. Even handheld shots can look professional with some practice, but stabilization tools are essential for more complex shots.
Compose Shots Thoughtfully
Rule of Thirds and Leading Lines
Great composition is key to creating cinematic videos. Use the rule of thirds to place your subject off-center, creating a more dynamic and visually interesting shot. Leading lines and framing can guide the viewer’s eye to the subject, while symmetry can add a striking visual effect.
Experiment with Angles
Try different camera angles to convey mood and emotion. Low-angle shots can make your subject appear more dominant, while high-angle shots can make them seem vulnerable. Eye-level shots are more neutral and connect the viewer with the subject.
Pay Attention to Sound
Use External Microphones
In many cases, DSLR cameras don’t have high-quality built-in microphones. To ensure your audio is as good as your visuals, use an external microphone, such as a shotgun mic or lavalier mic. Clean, crisp sound is critical to the cinematic experience.
Record Ambient Sound
To enhance the mood and setting, capture ambient sound. Whether it’s the sound of birds in a park or the hum of city traffic, these background sounds help immerse viewers in the environment and make the scene feel more real.
Incorporate Camera Movement
Pan, Tilt, and Dolly Shots
Incorporating smooth camera movements can make your footage more dynamic. Simple techniques like panning (moving the camera horizontally), tilting (moving it vertically), or using a dolly or slider for in-and-out movements can add a cinematic touch. Just ensure that the movements are purposeful and don’t distract from the subject.
Use Slow Motion Sparingly
Slow motion can be a powerful storytelling tool when used correctly. For slow-motion shots, set your frame rate to 60 fps or higher and then slow it down in post-production. This technique works well for action sequences, emotional moments, or highlighting details.
Edit for a Cinematic Finish
Color Grading
Color grading is essential to achieving a cinematic look. Use post-production software like Adobe Premiere Pro or DaVinci Resolve to adjust your footage’s color, contrast, and brightness. Many movies have distinct color palettes that convey mood—whether it’s cool blues for a somber scene or warm tones for a romantic one.
Add Cinematic Bars
To give your footage a true cinematic aspect ratio, add black bars to the top and bottom of your video in post-production. This simulates the widescreen format used in movies and immediately makes your video feel more polished.
Conclusion
Shooting cinematic videos with a DSLR requires a blend of technical expertise and creative vision. By focusing on settings like frame rate, shutter speed, and depth of field, while also paying attention to lighting, sound, and composition, you can elevate your video production. Master these techniques, and you’ll be able to create stunning cinematic footage that rivals professional films.


