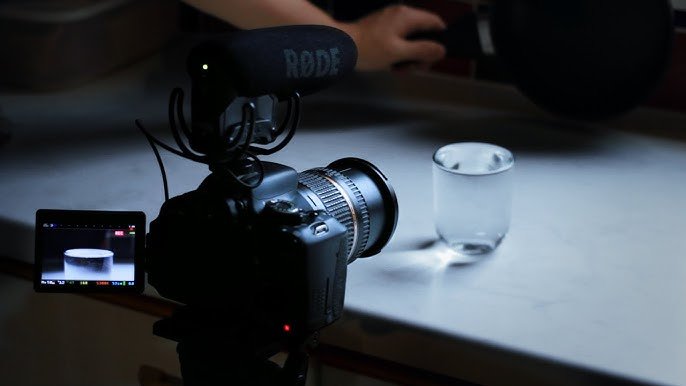
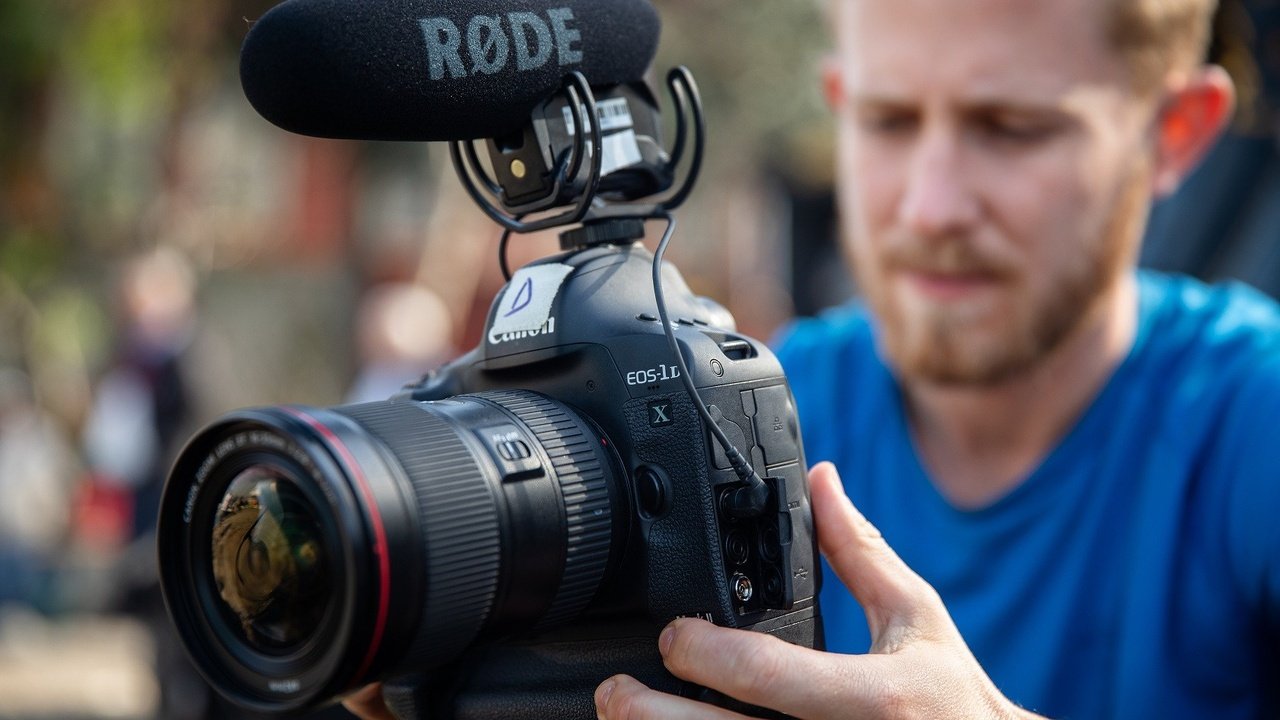
With the rise of high-quality DSLR cameras, creating cinematic videos has never been more accessible. DSLR cameras offer excellent video capabilities that, when combined with the right techniques, can give your footage a professional, cinematic look. Whether you’re shooting short films, music videos, or travel content, here’s a guide to help you create stunning cinematic videos using your DSLR.
1. Use Manual Settings for Full Control
Shooting in automatic mode limits your ability to control important factors like exposure, shutter speed, and focus. Switch your DSLR to manual mode to have complete control over these settings:
- Shutter speed: For cinematic motion, set your shutter speed to double the frame rate. For example, if you’re shooting at 24fps (frames per second), your shutter speed should be 1/50s. This creates natural motion blur, giving your video a film-like quality.
- Aperture: A wide aperture (f/1.8 – f/4) will create a shallow depth of field, separating your subject from the background. This is key for achieving a cinematic look where the subject stands out with beautiful background blur (bokeh).
- ISO: Keep your ISO as low as possible (typically between 100-400) to avoid noise in your footage. Only increase ISO if you’re shooting in low-light situations.
Tip: Mastering manual settings takes practice, so experiment with different combinations to see what works best in different environments.

2. Choose the Right Frame Rate
The frame rate you choose has a huge impact on the look of your video. Most cinematic films are shot at 24fps, which gives the footage a natural, slightly dreamy motion.
- 24fps for cinematic look: This is the standard frame rate for films and gives your footage a smooth, movie-like quality.
- 60fps for slow motion: If you plan to slow down your footage for a dramatic effect, shoot in 60fps or higher. You can then slow it down in post-production to add a smooth, slow-motion effect.
- 30fps for realism: If you want a more realistic, sharp feel, shoot at 30fps, which is often used in television and video content.
Tip: Stick to 24fps for most cinematic projects unless you need slow-motion shots, in which case you can switch to 60fps or higher.
3. Focus on Composition for Visual Impact
Good composition is essential for creating visually engaging videos. Follow these composition rules to add depth and cinematic quality to your footage:
- Rule of thirds: Divide your frame into a 3×3 grid and position your subject along the lines or at the intersections. This creates a more balanced and aesthetically pleasing shot.
- Leading lines: Use natural or architectural lines to guide the viewer’s eyes toward the subject. Roads, railings, or paths can add depth and interest to your shots.
- Frame within a frame: Incorporate objects like windows, doors, or foliage in the foreground to frame your subject. This technique adds depth and context to your shot.
Tip: Practice adjusting your composition for each scene. Even small changes in angles or framing can make a big difference in the final look.
4. Master Lighting for Cinematic Quality
Lighting can make or break your video. Natural light works well, but you can also experiment with artificial lighting setups. Here’s how to achieve professional lighting:
- Golden hour: For beautiful, soft lighting, shoot during the golden hour (the hour after sunrise or before sunset). This warm light is ideal for creating cinematic visuals.
- 3-point lighting: When shooting indoors, use the three-point lighting system (key light, fill light, and backlight). This setup helps to define your subject, reduce shadows, and create a visually interesting separation between the subject and the background.
- Soft lighting: Use diffused lighting (softboxes, natural light through windows, or bounce light) to create soft shadows and avoid harsh highlights.
Tip: Experiment with lighting angles and intensity to create mood and atmosphere in your scenes.
5. Achieve a Shallow Depth of Field
One of the key elements that gives cinematic footage its signature look is a shallow depth of field. This technique allows your subject to be in sharp focus while the background is blurred, creating a professional feel.
- Use a fast lens: Lenses with wide apertures (f/1.4, f/1.8, or f/2.8) will give you the shallow depth of field needed for this effect.
- Increase the distance between subject and background: The further your subject is from the background, the more pronounced the blur will be.
- Shoot close to your subject: The closer your camera is to the subject, the shallower the depth of field will become, making your subject stand out even more.
Tip: For a dramatic bokeh effect, use prime lenses with wide apertures.
6. Keep Your Camera Movements Smooth
To maintain a cinematic look, avoid shaky or erratic camera movements. Smooth, controlled movements add to the professional quality of your video. Consider using the following techniques:
- Use a tripod or gimbal: A tripod keeps your camera steady for static shots, while a gimbal allows for smooth motion shots. These tools help avoid unwanted camera shake.
- Slow, deliberate movements: When panning or tilting the camera, move slowly and steadily to maintain a cinematic flow.
- Handheld shots: If you’re shooting handheld, keep your movements steady and minimal. Move with intention to avoid excessive camera shake.
Tip: Practice moving your camera smoothly, especially if you’re using handheld techniques, to avoid distracting the viewer with shaky footage.
7. Color Grade Your Footage for a Cinematic Look
Color grading is the process of adjusting the colors in your footage to achieve a specific mood or tone. This is one of the final steps that can transform your video from ordinary to cinematic.
- Shoot in a flat profile: Many DSLR cameras offer a flat color profile (such as Canon’s “C-Log” or Nikon’s “Flat” profile). Shooting in a flat profile gives you more flexibility during color grading in post-production.
- Use color grading software: Tools like Adobe Premiere Pro, DaVinci Resolve, or Final Cut Pro offer powerful color grading features. You can adjust the brightness, contrast, saturation, and color tones to match the mood of your film.
- Apply LUTs (Look-Up Tables): LUTs are pre-designed color presets that give your video a specific cinematic look. These can be a quick way to achieve professional-grade color tones.
Tip: Avoid over-saturating or over-coloring your footage. Keep your grading subtle and complementary to the story you’re telling.
8. Record High-Quality Audio
Great visuals are only part of a cinematic video; high-quality audio is equally important. Poor audio can ruin even the most stunning footage, so invest in good audio equipment:
- External microphones: Use a shotgun mic or a lavalier mic for clear and crisp sound. The built-in microphone on your DSLR will often produce subpar audio, so external mics are essential.
- Use a separate audio recorder: For better control over sound quality, you can use a dedicated audio recorder, then sync the audio in post-production.
- Record ambient sound: Capture background noise and ambient sounds to add depth and realism to your video. This could include the rustle of leaves, city traffic, or waves on the shore.
Tip: Monitor your audio levels while recording to ensure they’re not too low or peaking.
9. Edit with Cinematic Techniques
Your editing style can make a huge difference in how cinematic your final video feels. Here are some editing techniques to enhance the cinematic experience:
- Use slow motion: If you’ve shot footage at a high frame rate (60fps or higher), slow it down in your editing software for dramatic effect.
- Cut on motion: When transitioning between shots, cut on the movement to maintain fluidity and continuity. This keeps the viewer engaged.
- Match cuts: Use match cuts to seamlessly transition between shots, keeping visual continuity. This works especially well when matching similar shapes, movements, or compositions.
Tip: Keep your edits tight and purposeful, avoiding excessive transitions or effects that might distract from the story.
Conclusion
Creating cinematic videos with a DSLR is all about mastering the technical aspects while infusing your personal style into the process. From camera settings and composition to lighting and editing, these techniques will help you transform your footage into visually stunning, cinematic masterpieces. With practice, patience, and creativity, you’ll be able to craft videos that not only look professional but also tell powerful visual stories.


