Learn how to optimize camera settings effectively by mastering exposure triangle, adjusting aperture, shutter speed, and ISO for high-quality images.. Optimizing your camera settings is essential for capturing high-quality images. Understanding how to adjust these settings based on different shooting conditions will help you achieve better results. This guide covers key camera settings and provides tips for optimizing them effectively.
Understand Exposure Triangle
The exposure triangle consists of aperture, shutter speed, and ISO. These three settings work together to determine the exposure of your image. Mastering how they interact will enable you to control light, depth of field, and motion blur effectively.

Adjust Aperture for Depth of Field
Aperture controls the amount of light entering the lens and affects the depth of field. A lower f-stop number (e.g., f/1.8) results in a shallow depth of field, creating a blurred background and highlighting your subject. A higher f-stop number (e.g., f/16) increases the depth of field, keeping more of the scene in focus. Adjust the aperture based on the desired effect for your photo.
Set Shutter Speed for Motion Control
Shutter speed determines how long the camera’s sensor is exposed to light. A fast shutter speed (e.g., 1/1000 sec) freezes motion and is ideal for action shots. A slow shutter speed (e.g., 1/30 sec) captures movement and can create a sense of motion blur. Use a tripod for slow shutter speeds to prevent camera shake and ensure sharp images.
Optimize ISO for Light Sensitivity
ISO controls the sensor’s sensitivity to light. A low ISO setting (e.g., ISO 100) is best for bright conditions and produces minimal noise. A high ISO setting (e.g., ISO 1600) increases light sensitivity, allowing for better performance in low-light conditions but may introduce noise. Choose the ISO setting that balances exposure and image quality for your shooting environment.
Use Auto Mode for Convenience
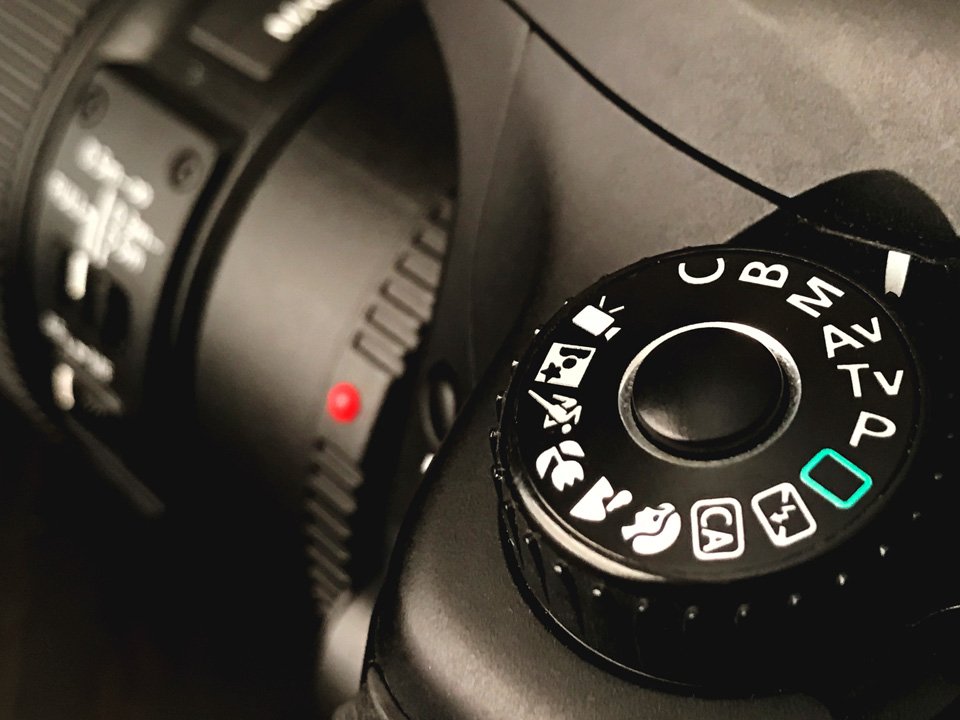
Auto mode is useful for beginners or when you need to capture a shot quickly. The camera automatically adjusts the aperture, shutter speed, and ISO based on the lighting conditions. While convenient, it may not always produce the desired results. Use auto mode as a starting point and fine-tune settings as you gain more experience.
Explore Manual Mode for Creative Control
Manual mode provides full control over aperture, shutter speed, and ISO. This mode allows you to make precise adjustments and achieve specific effects. Experiment with different settings to see how they impact your photos. Manual mode is particularly useful for creative photography and when shooting in challenging lighting conditions.
Utilize Presets and Custom Settings
Many cameras offer presets and custom settings for various shooting scenarios. Presets like portrait, landscape, and night mode are designed to optimize settings for specific types of photos. Custom settings allow you to save your preferred configurations for quick access. Explore these options to streamline your workflow and achieve consistent results.
Focus on White Balance
White balance ensures that colors appear natural and accurate in your photos. Adjust the white balance setting based on the lighting conditions, such as daylight, shade, or tungsten. Use custom white balance for more control in complex lighting situations. Proper white balance helps to maintain color accuracy and overall image quality.
Check Histogram for Exposure
The histogram is a graphical representation of the exposure in your photo. It shows the distribution of light and dark areas, helping you assess whether your image is properly exposed. A well-balanced histogram ensures that details are visible in both highlights and shadows. Adjust your settings based on the histogram to achieve optimal exposure.
Review and Adjust Settings Regularly
Regularly review and adjust your camera settings based on changing conditions. Factors like lighting, subject movement, and shooting environment can affect the optimal settings. Continuously evaluate and adjust your settings to ensure the best possible results for each shot.
Conclusion
Optimizing camera settings involves understanding and adjusting aperture, shutter speed, and ISO to achieve the desired exposure and effects. By exploring different modes, utilizing presets, and monitoring the histogram, you can enhance your photography skills and capture high-quality images. Practice and experimentation will help you master these settings and improve your overall photographic technique.


