Category: Photography Gear

  • How to Maintain and Care for Your Photography Equipment

    How to Maintain and Care for Your Photography Equipment

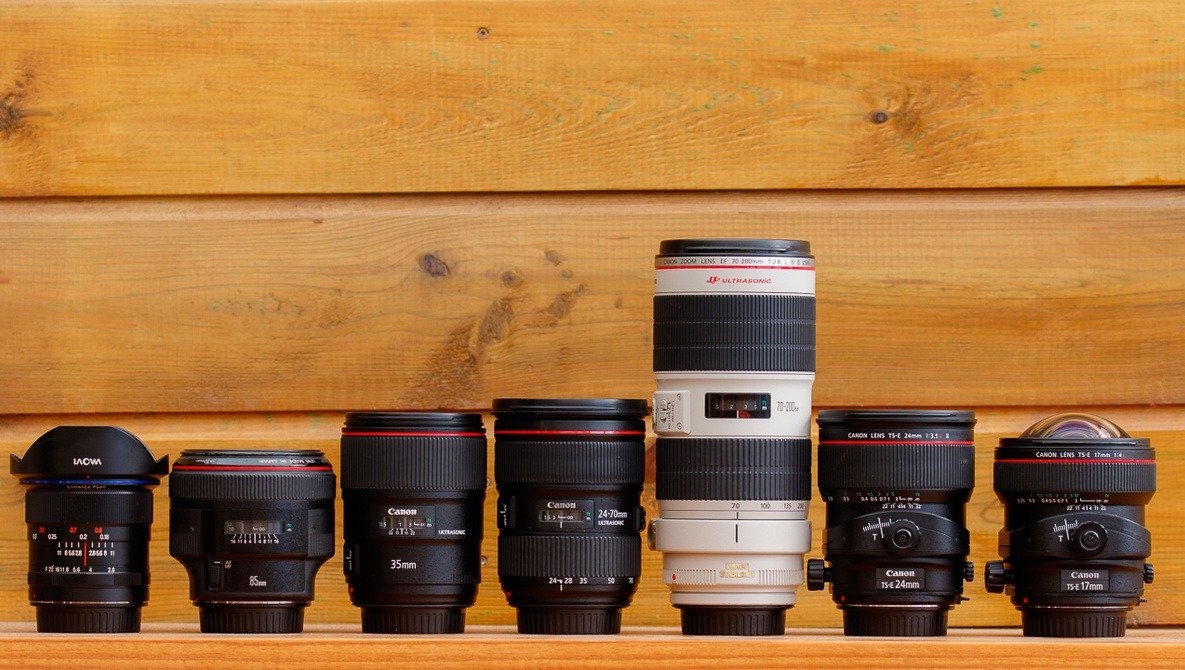
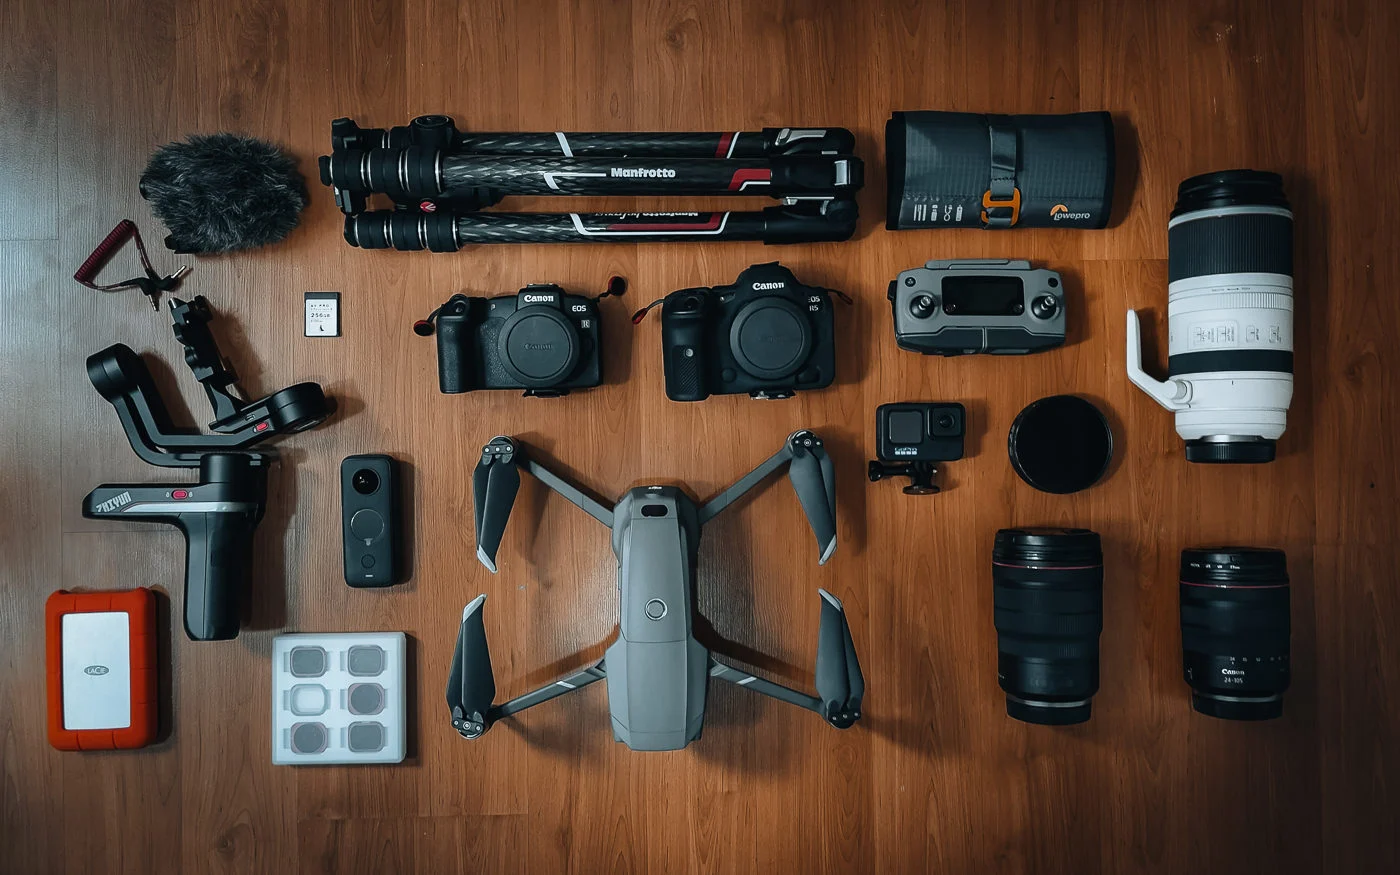
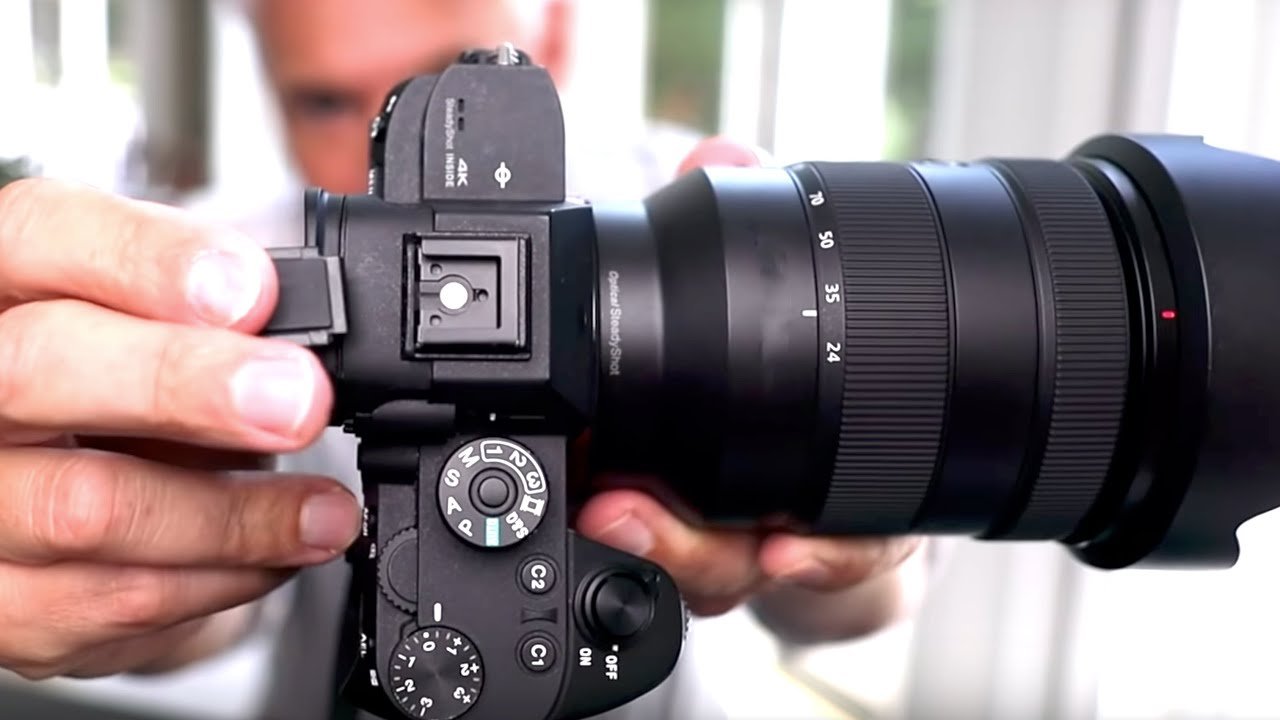
    Proper maintenance and care of your photography equipment are crucial for ensuring its longevity and performance. Whether you’re a professional photographer or a hobbyist, keeping your gear in excellent condition will help you capture stunning images and avoid costly repairs. Here’s a comprehensive guide to maintaining and caring for your photography equipment.


    1. Cleaning Your Camera and Lenses

    Camera Body:

    • Use a Dry Cloth: Gently wipe the camera body with a soft, dry cloth to remove dust and fingerprints. Avoid using abrasive materials that could scratch the surface.
    • Cleaning the Sensor: Use a blower or a sensor cleaning brush to remove dust from the sensor. For more thorough cleaning, consider using a sensor cleaning kit or having it professionally cleaned.

    Lenses:

    • Lens Cleaning Solution: Apply a few drops of lens cleaning solution to a microfiber cloth, not directly to the lens. Gently wipe the lens in a circular motion to remove smudges and dust.
    • Avoid Touching the Glass: Handle lenses by the edges to avoid leaving fingerprints on the glass. Always use a lens cap when the lens is not in use.

    2. Proper Storage

    Camera Bag:

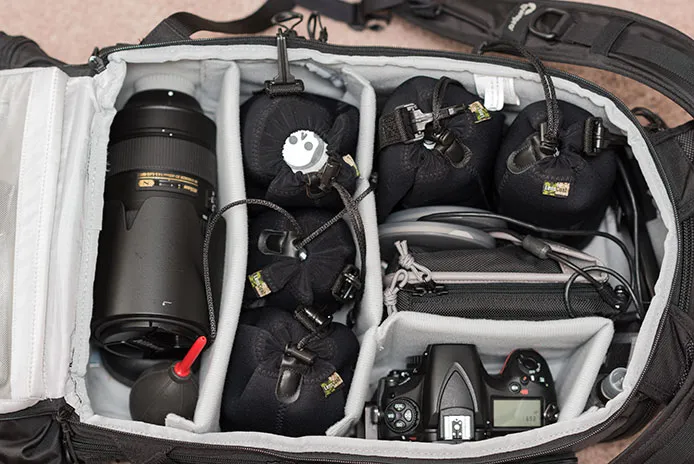
    • Use a Padded Bag: Store your camera and lenses in a padded camera bag or case to protect them from physical damage and dust.
    • Keep It Dry: Ensure your camera bag is dry and free from moisture to prevent mold and corrosion.

    Storage Environment:

    • Avoid Extreme Temperatures: Store your gear in a cool, dry place away from direct sunlight and extreme temperatures.
    • Use Silica Gel Packs: Place silica gel packs in your camera bag to absorb moisture and keep your equipment dry.

    3. Protecting Your Gear

    Lens Filters:

    • Use UV Filters: Attach UV filters to your lenses to protect them from scratches and dust. They can also help reduce haze and improve image clarity.

    Rain Protection:

    • Use Rain Covers: If you’re shooting in wet conditions, use a rain cover or protective sleeve to shield your camera and lenses from water damage.

    Avoiding Sand and Dust:

    • Keep Gear Covered: When shooting in sandy or dusty environments, use lens caps and keep your gear covered when not in use.

    4. Regular Maintenance

    Check for Firmware Updates:

    • Update Firmware: Periodically check for and install firmware updates for your camera and lenses. These updates can improve performance and add new features.

    Inspect for Wear and Tear:

    • Regular Inspections: Examine your equipment for signs of wear and tear, such as loose screws or worn-out cables. Address any issues promptly to prevent further damage.

    Battery Care:

    • Charge Properly: Avoid overcharging your batteries. Store spare batteries in a cool, dry place and ensure they are fully charged before a shoot.

    5. Professional Servicing

    Regular Servicing:

    • Annual Checkups: Consider having your camera and lenses professionally serviced once a year, especially if you use them frequently. Professional servicing can address any internal issues and ensure your gear operates smoothly.

    Repairs:

    • Seek Professional Help: If you encounter any mechanical or electrical issues with your equipment, seek professional repair services rather than attempting to fix them yourself.

    6. Additional Tips

    Use Lens Caps:

    • Always Cap Lenses: Protect your lenses from dust, scratches, and accidental damage by using lens caps when not in use.

    Avoid Changing Lenses in Dusty Environments:

    • Minimize Exposure: If possible, change lenses in a clean, dust-free environment to reduce the risk of dust entering the camera body.

    Back Up Your Photos:

    • Regular Backups: Regularly back up your photos to multiple storage devices or cloud services to prevent data loss.

    Conclusion

    Maintaining and caring for your photography equipment is essential for ensuring its optimal performance and longevity. By following these tips for cleaning, storing, protecting, and servicing your gear, you can keep your camera and lenses in top condition and capture stunning images for years to come. Treat your equipment with care, and it will reward you with exceptional performance and reliability.
  • Mirrorless vs. DSLR: Which Camera is Right for You?

    Mirrorless vs. DSLR: Which Camera is Right for You?

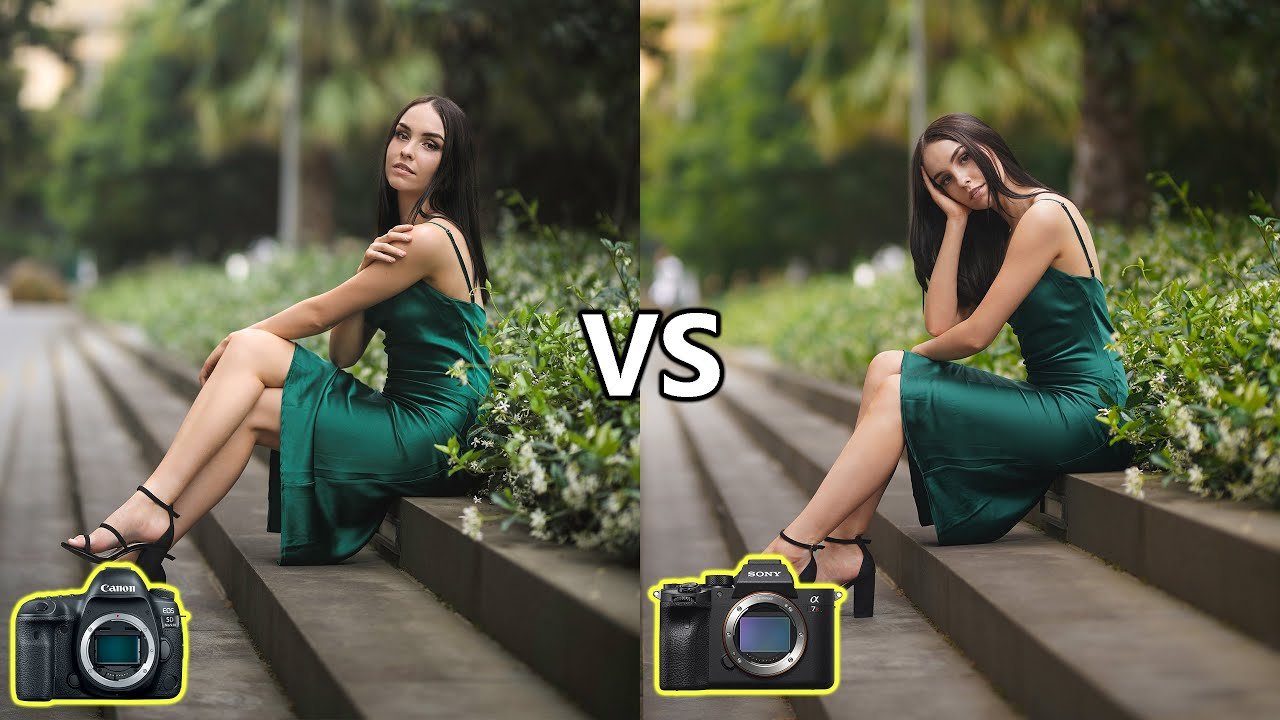
    Choosing between a mirrorless and a DSLR camera can be a daunting decision, especially for those new to photography or upgrading their gear. Both types of cameras have their strengths and weaknesses, and understanding these can help you make an informed choice. Here’s a comprehensive guide to help you decide which camera is right for you in 2024.


    1. Understanding the Basics

    DSLR Cameras:

    Digital Single-Lens Reflex (DSLR) cameras have been a staple in photography for years. They use a mirror to reflect light from the lens up into an optical viewfinder, allowing you to see exactly what the lens is capturing.

    Mirrorless Cameras:

    Mirrorless cameras, as the name suggests, do not have a mirror. Instead, they rely on an electronic viewfinder or the camera’s LCD screen to display the image. This design allows for a more compact and lightweight body.


    2. Pros and Cons

    DSLR Pros:

    • Optical Viewfinder: Provides a real-time view of the scene without lag, making it easier to capture fast-moving subjects.
    • Battery Life: Generally offers longer battery life compared to mirrorless cameras.
    • Lens Selection: Extensive range of lenses available, especially for older models.

    DSLR Cons:

    • Size and Weight: Larger and heavier due to the mirror mechanism and optical viewfinder.
    • Noise: The mirror mechanism can be noisy, which might be disruptive in quiet environments.

    Mirrorless Pros:

    • Compact Size: More portable and lightweight due to the lack of a mirror and optical viewfinder.
    • Silent Shooting: Operates silently, which is ideal for situations where noise could be an issue.
    • Advanced Features: Often includes modern features like in-body image stabilization and superior autofocus in video mode.

    Mirrorless Cons:

    • Battery Life: Typically shorter battery life compared to DSLRs.
    • Lens Selection: Although improving, the range of available lenses may be more limited, especially for newer models.

    3. Performance and Usability

    Autofocus:

    • DSLRs: Historically, DSLRs have had faster and more reliable autofocus for still photography, thanks to phase-detection systems. However, modern DSLRs are catching up.
    • Mirrorless Cameras: Use contrast-detection and hybrid autofocus systems, which can offer superior performance in continuous shooting and video recording.

    Viewfinder:

    • DSLRs: Optical viewfinders offer a direct view of the scene with no lag, which is beneficial for fast-paced photography.
    • Mirrorless Cameras: Electronic viewfinders (EVFs) and LCD screens can show a preview of your image with exposure adjustments in real time. Some high-end mirrorless models have EVFs with high resolution and refresh rates.

    4. Video Capabilities

    DSLRs:

    • Pros: Good for video, especially with models offering 4K recording.
    • Cons: Often have limitations in live view and continuous autofocus.

    Mirrorless Cameras:

    • Pros: Generally superior in video features, including advanced autofocus, 4K recording, and high frame rates.
    • Cons: Some entry-level models might lack advanced video features.

    5. Cost and Investment

    DSLRs:

    • Initial Cost: Generally more affordable for entry-level models.
    • Long-Term Investment: Extensive range of compatible lenses and accessories available.

    Mirrorless Cameras:

    • Initial Cost: Often more expensive, especially for high-end models.
    • Long-Term Investment: Growing selection of lenses and accessories, though may be more costly.

    6. Recommendations

    For Beginners:

    • DSLRs: Canon EOS Rebel T7 or Nikon D3500 offer great entry-level options with a variety of lenses and straightforward controls.
    • Mirrorless: Sony Alpha a6000 or Panasonic Lumix GX85 provide compact, user-friendly options with advanced features.

    For Advanced Users:

    • DSLRs: Canon EOS 90D or Nikon D7500 offer higher-end features and superior performance.
    • Mirrorless: Sony Alpha a7 III or Canon EOS R6 provide advanced capabilities and professional-level features.

    Conclusion

    Choosing between a mirrorless and a DSLR camera ultimately depends on your specific needs and preferences. DSLRs offer reliability, longer battery life, and a traditional shooting experience, while mirrorless cameras provide compactness, advanced features, and excellent video capabilities. Evaluate your priorities and budget to find the camera that best suits your photography journey.

  • Best Budget Cameras for Aspiring Photographers

    Best Budget Cameras for Aspiring Photographers

    Starting out in photography doesn’t have to mean spending a fortune. With the right budget camera, you can capture stunning images and develop your skills without breaking the bank. In 2024, there are several affordable options that offer great features and performance for aspiring photographers. Here’s a roundup of some of the best budget cameras you can buy this year.


    1. Canon EOS Rebel T7 / EOS 2000D

    Description: The Canon EOS Rebel T7, also known as the EOS 2000D in some regions, is an entry-level DSLR that combines ease of use with solid performance. It’s ideal for beginners looking to get into photography.

    Key Features:

    • 24.1 MP APS-C Sensor: Provides sharp and detailed images.
    • DIGIC 4+ Image Processor: Enhances image quality and performance.
    • 9-Point AF System: Offers reliable autofocus.
    • Wi-Fi Connectivity: Easily share photos and connect with smart devices.

    Pros:

    • Affordable price point
    • User-friendly interface
    • Good image quality for the price

    Cons:

    • Basic autofocus system
    • Limited video features

    2. Nikon D3500

    Description: The Nikon D3500 is a compact DSLR that’s known for its excellent battery life and straightforward controls, making it a great choice for beginners.

    Key Features:

    • 24.2 MP APS-C Sensor: Delivers high-resolution images.
    • EXPEED 4 Image Processor: Ensures fast performance and accurate colors.
    • Guide Mode: Helps beginners learn the basics of photography.
    • 1080p Full HD Video Recording: Allows for decent video capture.

    Pros:

    • Long battery life
    • Lightweight and portable
    • Intuitive user interface

    Cons:

    • No 4K video recording
    • Limited advanced features

    3. Sony Alpha a6000

    Description: The Sony Alpha a6000 is a mirrorless camera that offers a compact design with powerful features. It’s perfect for those looking to explore mirrorless technology on a budget.

    Key Features:

    • 24.3 MP APS-C Sensor: Captures detailed and vibrant images.
    • BIONZ X Image Processor: Enhances performance and image quality.
    • 179-Point Phase Detection AF: Fast and accurate autofocus.
    • Continuous Shooting at 11 fps: Ideal for capturing fast-moving subjects.

    Pros:

    • Compact and lightweight
    • Fast autofocus system
    • High-speed continuous shooting

    Cons:

    • No 4K video recording
    • Basic touchscreen functionality

    4. Panasonic Lumix GX85 / GX80

    Description: The Panasonic Lumix GX85 (or GX80) is a mirrorless camera that offers advanced features in a budget-friendly package, making it a great choice for both photography and videography.

    Key Features:

    • 16 MP Micro Four Thirds Sensor: Provides good image quality with a compact body.
    • Dual I.S. (Image Stabilization): Reduces camera shake for sharper images.
    • 4K Video Recording: Allows for high-resolution video capture.
    • Post Focus Mode: Lets you select the focus area after taking the shot.

    Pros:

    • 4K video capability
    • Dual image stabilization
    • Compact and versatile

    Cons:

    • Lower resolution sensor compared to competitors
    • Limited lens selection

    5. Olympus OM-D E-M10 Mark III

    Description: The Olympus OM-D E-M10 Mark III is a stylish and compact mirrorless camera that offers a range of advanced features for its price.

    Key Features:

    • 16 MP Micro Four Thirds Sensor: Produces high-quality images with excellent color accuracy.
    • 5-Axis In-Body Image Stabilization: Helps to counteract camera shake.
    • 4K Video Recording: Captures high-definition video.
    • Art Filters and Creative Modes: Enhance your creative possibilities.

    Pros:

    • Stylish design and build quality
    • Excellent image stabilization
    • Compact and portable

    Cons:

    • Smaller sensor compared to APS-C cameras
    • Battery life could be better

    Conclusion

    Finding the right budget camera involves balancing features with affordability. The Canon EOS Rebel T7, Nikon D3500, Sony Alpha a6000, Panasonic Lumix GX85, and Olympus OM-D E-M10 Mark III all offer great performance without a hefty price tag. Whether you’re looking for a DSLR or a mirrorless camera, each of these options provides a solid starting point for aspiring photographers. Choose the one that best fits your needs and start capturing stunning images today!

  • Tripods vs. Monopods: Which One Should You Use?

    Tripods vs. Monopods: Which One Should You Use?

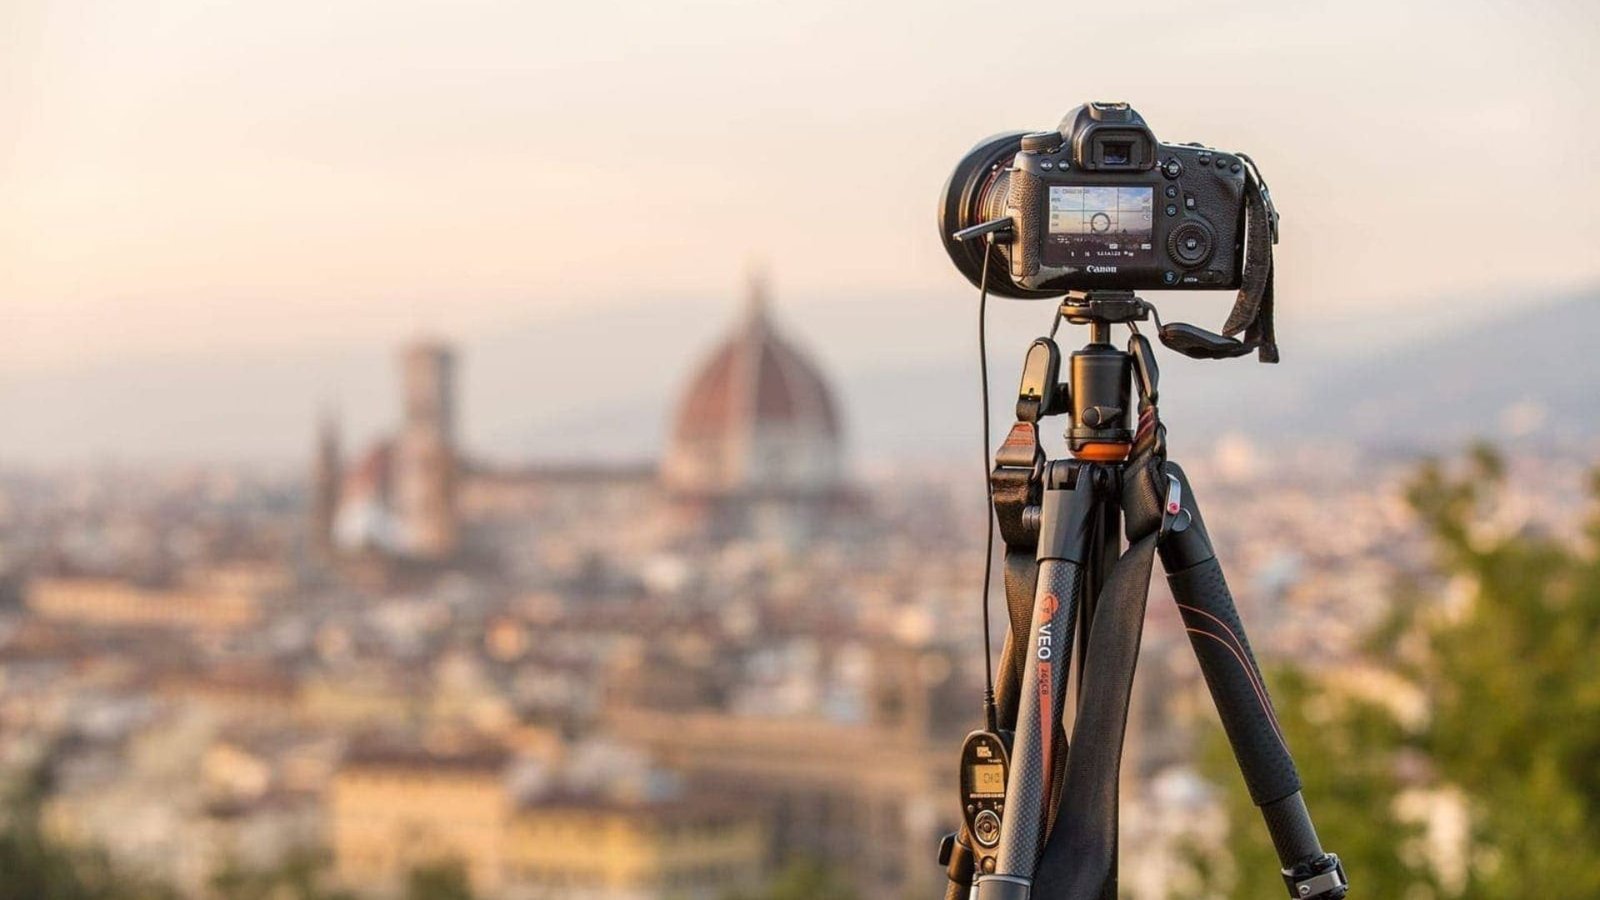
    When it comes to stabilizing your camera and capturing the perfect shot, both tripods and monopods are essential tools. Each offers unique advantages and is suited to different shooting scenarios. Understanding the key differences between them can help you decide which one is right for your needs. Here’s a detailed comparison to guide you.


    1. What is a Tripod?

    Description: A tripod is a three-legged stand designed to provide stable support for a camera or other equipment. It is commonly used for capturing static shots, long exposures, and when precise framing is crucial.

    Benefits:

    • Stability: Provides maximum stability, reducing camera shake and allowing for sharp images in low light or long exposure situations.
    • Versatility: Many tripods offer adjustable legs, heads, and height, giving you flexibility in composing your shots.
    • Consistency: Ideal for scenarios where you need to maintain the same frame or angle over extended periods.

    Drawbacks:

    • Bulkiness: Tripods can be bulky and heavy, making them less convenient for travel or quick shots.
    • Setup Time: Setting up a tripod can be time-consuming and may not be practical for fast-paced shooting environments.

    2. What is a Monopod?

    Description: A monopod is a single-legged support device designed to offer some stability while remaining highly portable and quick to use. It’s commonly used in sports photography, videography, and when mobility is essential.

    Benefits:

    • Portability: Lightweight and compact, making it easier to carry around and maneuver in crowded or dynamic environments.
    • Speed: Quick to set up and adjust, allowing for rapid changes in position or shooting angles.
    • Flexibility: Provides support while still allowing for movement, which is useful for tracking moving subjects or shooting in tight spaces.

    Drawbacks:

    • Limited Stability: Provides less stability than a tripod, making it less suitable for long exposures or situations where maximum steadiness is required.
    • Support: Offers support only in the vertical direction, which means you still need to hold the camera steady manually.

    3. When to Use a Tripod

    Description: Tripods are best suited for situations where maximum stability is crucial. Here are some scenarios where a tripod is the preferred choice:

    • Long Exposures: Ideal for capturing low-light scenes, night photography, and long exposure shots where camera shake needs to be minimized.
    • Landscape Photography: Provides stability for framing detailed landscape shots and maintaining consistency.
    • Studio Photography: Essential for controlled environments where you need precise adjustments and stable support.
    • Video Production: Useful for creating smooth, stable video footage and maintaining a fixed camera position.

    4. When to Use a Monopod

    Description: Monopods are great for situations where portability and quick adjustments are more important than maximum stability. Consider a monopod for:

    • Sports Photography: Provides support while allowing for fast movements and tracking of dynamic action.
    • Event Photography: Useful for navigating through crowds and capturing moments without the bulkiness of a tripod.
    • Travel: Ideal for travelers who need a compact, lightweight solution for stabilizing their camera while on the go.
    • Vlogging: Helps in maintaining stability while allowing freedom of movement, especially for handheld shooting.

    5. Conclusion

    Choosing between a tripod and a monopod depends on your specific needs and shooting environment. Tripods offer unparalleled stability and are perfect for static shots, long exposures, and precise framing. On the other hand, monopods provide a lightweight and portable solution for dynamic shooting situations where quick adjustments are necessary. By understanding the strengths and limitations of each, you can select the right support tool to enhance your photography or videography experience.

    Happy shooting!

  • The Advantages of Using a Tripod in Photography

    The Advantages of Using a Tripod in Photography

    A tripod is an essential tool for photographers, offering numerous advantages that can elevate the quality of your images. Here’s a detailed look at how using a tripod can benefit your photography.

    Improved Stability

    Stability is crucial for capturing sharp, clear images, especially in low-light conditions or when using slow shutter speeds.

    Benefits:

    • Prevents Camera Shake: A tripod stabilizes your camera, reducing the risk of camera shake, which can cause blurry images.
    • Consistent Composition: It allows you to set up your shot precisely and maintain the same composition throughout the shooting process.

    Examples:

    • Long Exposure Shots: When photographing night scenes or star trails, a tripod prevents blur caused by hand movements.
    • Macro Photography: For close-up shots, a tripod helps keep the camera steady to capture fine details.

    Enhanced Sharpness

    Sharpness is critical for high-quality images. A tripod helps achieve this by eliminating movement that can affect image clarity.

    Benefits:

    • Increased Detail: By reducing camera movement, a tripod ensures that every detail of the subject is captured crisply.
    • Higher Resolution: With a stable camera, you can use higher resolution settings and still achieve sharp results.

    Examples:

    • Landscape Photography: Captures intricate details in wide shots, making every element of the scene appear clear and defined.
    • Portrait Photography: Ensures that portraits are sharp and focused, especially when using slower shutter speeds.

    Creative Flexibility

    A tripod opens up new creative possibilities by allowing you to experiment with various techniques and settings.

    Benefits:

    • Long Exposure Photography: Enables creative effects like light trails, smooth water surfaces, and night sky shots.
    • HDR Photography: Helps in capturing multiple exposures for high dynamic range (HDR) images, where consistency in framing is essential.

    Examples:

    • Motion Blur: Use a tripod to capture the movement of subjects like flowing water or busy streets while keeping the background sharp.
    • Panoramas: Helps in creating seamless panoramic shots by keeping the camera level and steady during multiple exposures.

    Better Composition

    Composition plays a significant role in photography, and a tripod helps you achieve precise framing and alignment.

    Benefits:

    • Level Horizon: A tripod often includes a level bubble or grid lines, making it easier to keep your horizon straight.
    • Frame Adjustment: Allows fine-tuning of your composition without constantly holding the camera, ensuring you capture the perfect shot.

    Examples:

    • Architectural Photography: Keeps vertical lines straight and consistent, which is crucial for capturing buildings and structures accurately.
    • Product Photography: Provides a stable platform for setting up and adjusting product shots to highlight specific features.

    Reduced Physical Strain

    Carrying and holding a camera for extended periods can be tiring. A tripod reduces the physical strain associated with photography.

    Benefits:

    • Comfort: Frees your hands and arms, allowing you to work more comfortably for longer periods.
    • Reduced Fatigue: Minimizes the need to constantly hold and stabilize the camera, reducing muscle strain and fatigue.

    Examples:

    • Event Photography: Enables you to capture images during long events or ceremonies without tiring yourself out.
    • Wildlife Photography: Allows you to wait patiently for the perfect shot while keeping the camera steady.

    Conclusion

    Using a tripod in photography offers significant advantages, including enhanced stability, improved sharpness, creative flexibility, better composition, and reduced physical strain. Whether you’re capturing long exposures, detailed macro shots, or perfectly composed landscapes, a tripod can elevate your photography and help you achieve high-quality results. Invest in a sturdy and versatile tripod to unlock new possibilities and enhance your photographic experience.

  • Camera Bags: Finding the Perfect Fit for Your Gear

    Camera Bags: Finding the Perfect Fit for Your Gear

    A camera bag is more than just a carrier for your gear; it’s an essential tool for photographers to ensure their equipment is protected, organized, and easily accessible. Whether you’re a professional or an amateur, choosing the right camera bag can significantly impact your shooting experience. Here’s a comprehensive guide to help you find the perfect fit for your gear.


    1. Assess Your Gear Needs

    Description: Before choosing a camera bag, evaluate the type and amount of equipment you carry. Consider whether you need space for a DSLR or mirrorless camera, multiple lenses, a tripod, and other accessories.

    • Essential Questions: How many cameras and lenses do you have? Do you need space for a laptop or tablet? Will you carry additional accessories like a drone or lighting gear?

    2. Types of Camera Bags

    Description: Camera bags come in various styles, each catering to different needs and preferences. Here’s a look at the most common types:

    • Backpacks: Ideal for photographers who need to carry a lot of gear and prefer even weight distribution. They offer ample storage, padded compartments, and are suitable for long treks.
    • Shoulder Bags: Offer quick access to gear and are great for street photography. They typically provide a compact design with adjustable dividers and comfortable straps.
    • Slings: Designed for easy access and mobility, slings are a great choice for photographers who need to switch between different gears frequently.
    • Totes: Perfect for those who need to carry a moderate amount of gear with easy access. They offer versatility and can often be used as everyday bags.
    • Hard Cases: Provide maximum protection for your gear during travel or harsh conditions. They are often waterproof and come with customizable foam inserts.

    3. Features to Consider

    Description: When selecting a camera bag, look for features that match your specific needs and preferences.

    • Padding and Protection: Ensure the bag has adequate padding to protect your gear from shocks and impacts. Look for dividers that can be adjusted to fit your equipment snugly.
    • Durability: Opt for high-quality materials that are water-resistant or waterproof to protect against the elements. Strong zippers and reinforced stitching also contribute to the bag’s durability.
    • Accessibility: Consider how easily you can access your gear. Quick-access pockets or compartments can be a lifesaver in fast-paced shooting situations.
    • Comfort: Choose a bag with padded straps and ergonomic design for comfort during extended periods of wear. Adjustable and breathable straps enhance comfort and reduce fatigue.
    • Organization: Look for multiple compartments and pockets to keep your accessories organized. Some bags also feature dedicated spaces for laptops or tablets.

    4. Top Camera Bags Recommendations

    Description: Here are some highly recommended camera bags to consider based on different needs and preferences:

    • Peak Design Everyday Backpack: Known for its sleek design, modular organization, and easy access to gear. It offers a great balance between style and functionality.
    • Lowepro ProTactic 450 AW II: A rugged and versatile backpack with ample space, customizable dividers, and all-weather protection. Ideal for photographers who need a lot of gear and protection.
    • Ona Bowery Bag: A stylish and compact shoulder bag made from premium materials. It’s perfect for a minimalist approach and quick access to essential gear.
    • Manfrotto Pro Light RedBee-310: A durable and well-organized backpack designed for professional photographers. It offers excellent protection and easy access.
    • Pelican 1510 Case: A hard case with customizable foam inserts, known for its extreme durability and protection. Ideal for traveling or shooting in challenging conditions.

    5. Conclusion

    Choosing the right camera bag is crucial for keeping your gear safe, organized, and easily accessible. By assessing your gear needs, understanding different bag types, and considering essential features, you can find the perfect fit for your photography adventures. Whether you prefer a backpack for long hikes or a shoulder bag for quick shoots, the right camera bag will enhance your shooting experience and ensure your equipment is always ready for action.

    Happy shooting!

  • The Top 10 Must-Have Accessories for Photographers

    The Top 10 Must-Have Accessories for Photographers

    Whether you’re a professional photographer or an enthusiastic hobbyist, having the right accessories can make a significant difference in your shooting experience and the quality of your photos. Here are the top 10 must-have accessories every photographer should consider adding to their gear collection:


    1. Tripod

    Description: A sturdy tripod is essential for capturing sharp, clear images, especially in low light or when using long exposures. It helps stabilize your camera and reduce camera shake.

    • Features to Look For: Adjustable height, lightweight construction, quick-release plate.
    • Recommendation: Manfrotto Befree Advanced, Gitzo GT1545T

    2. Camera Bag

    Description: A well-organized camera bag protects your gear and provides easy access to your equipment. Look for one that offers ample storage, padding, and comfort for carrying your camera and accessories.

    • Features to Look For: Adjustable compartments, weather resistance, padded shoulder straps.
    • Recommendation: Lowepro ProTactic 450 AW, Peak Design Everyday Backpack

    3. Lens Cleaning Kit

    Description: Keeping your lenses clean is crucial for maintaining image quality. A lens cleaning kit typically includes a brush, cleaning solution, and microfiber cloths to safely remove dust and smudges.

    • Features to Look For: Anti-static brush, non-abrasive cloths, alcohol-free cleaning solution.
    • Recommendation: Giottos Rocket Air Blower, Zeiss Lens Cleaning Kit

    4. Extra Batteries

    Description: Extra batteries ensure you never run out of power during a shoot, especially during long events or trips. Always carry spare batteries to avoid interruptions.

    • Features to Look For: Compatibility with your camera model, high capacity, reliable performance.
    • Recommendation: Wasabi Power Battery, Ansmann Lithium-Ion Battery

    5. Memory Cards

    Description: High-quality memory cards with ample storage are essential for saving your photos. Invest in reliable cards with fast write speeds to handle large files and rapid shooting.

    • Features to Look For: High read/write speeds, sufficient storage capacity, durability.
    • Recommendation: SanDisk Extreme Pro, Lexar Professional 1000x

    6. Remote Shutter Release

    Description: A remote shutter release allows you to take photos without physically touching the camera, reducing camera shake and enabling precise timing.

    • Features to Look For: Wireless or wired options, compatibility with your camera, timer functions.
    • Recommendation: Canon RC-6 Wireless Remote, Nikon ML-L3 Remote

    7. Camera Strap

    Description: A comfortable and durable camera strap helps you carry your camera securely and reduces strain on your neck or shoulders. Consider straps with ergonomic designs and adjustable lengths.

    • Features to Look For: Comfort padding, adjustable length, quick-release mechanism.
    • Recommendation: Peak Design Slide, BlackRapid Sport Breathe

    8. ND Filter

    Description: Neutral density (ND) filters reduce the amount of light entering the lens, allowing for longer exposures or wider apertures in bright conditions. They are essential for creative effects like motion blur.

    • Features to Look For: Optical quality, easy attachment, variable ND options.
    • Recommendation: Hoya Variable ND Filter, B+W ND Filter

    9. External Flash

    Description: An external flash provides additional lighting options and greater control over lighting conditions, improving your photography in various settings, from portraits to events.

    • Features to Look For: Adjustable power settings, TTL compatibility, bounce and swivel head.
    • Recommendation: Godox V860II, Nikon SB-700

    10. Cleaning Brush

    Description: A camera cleaning brush helps remove dust and debris from your camera body and lenses without causing scratches. It is a quick and effective tool for maintaining your gear.

    • Features to Look For: Soft bristles, retractable brush, dust-removal capabilities.
    • Recommendation: LensPen SensorKlear, Altura Photo Professional Cleaning Brush

    Conclusion

    Investing in these must-have accessories will enhance your photography experience, improve your workflow, and ensure you capture high-quality images. Each accessory serves a unique purpose, from protecting your gear to enabling creative shots, making them essential for both amateur and professional photographers. Equip yourself with these tools to get the most out of your photography adventures.

    Happy shooting!

  • How to Select the Perfect Camera Bag for Your Equipment

    How to Select the Perfect Camera Bag for Your Equipment

    Selecting the right camera bag is crucial for protecting your gear and ensuring you have everything you need readily accessible. Here’s a guide to help you choose the perfect camera bag for your equipment.

    Determine Your Gear Needs

    Start by assessing the amount and type of gear you carry. Different bags are designed for different types of equipment and activities.

    Key Considerations:

    • Camera Body and Lenses: Consider how many camera bodies and lenses you need to carry. Ensure the bag has sufficient compartments and padding to accommodate them.
    • Accessories: Think about additional items such as memory cards, batteries, and chargers. The bag should have pockets or compartments for these accessories.
    • Other Equipment: If you carry a tripod, laptop, or other equipment, check for dedicated spaces or straps in the bag.

    Benefits:

    • Ensures you have the right space for all your gear
    • Helps keep your equipment organized and accessible

    Consider the Type of Bag

    Camera bags come in various styles, each suited for different purposes and preferences.

    Key Types:

    • Backpacks: Ideal for carrying multiple pieces of equipment comfortably. They offer ample storage and distribute weight evenly.
    • Shoulder Bags: Convenient for quick access to your gear. They are ideal for casual shoots but may not offer as much padding as other types.
    • Messenger Bags: Stylish and functional, offering easy access and often used for urban photography. They might lack some protection and space.
    • Hard Cases: Provide maximum protection for your gear, suitable for travel or rugged environments. They can be bulkier and less flexible.
    • Camera Holsters: Designed for carrying a single camera and lens. They offer quick access but limited storage.

    Benefits:

    • Aligns with your shooting style and needs
    • Ensures comfort and functionality

    Check for Protection and Padding

    Protection is essential to keep your equipment safe from bumps, drops, and environmental factors.

    Key Features:

    • Padded Dividers: Ensure the bag has adjustable padded dividers to customize the layout and protect individual pieces of gear.
    • Weather Resistance: Look for weather-resistant or waterproof materials to protect your gear from rain and dust.
    • Shock Absorption: Consider bags with additional padding or foam to absorb impacts and prevent damage.

    Benefits:

    • Safeguards your equipment from damage
    • Ensures your gear stays in good condition

    Evaluate Comfort and Ergonomics

    Comfort is crucial, especially if you’re carrying your bag for extended periods.

    Key Features:

    • Adjustable Straps: Ensure the bag has adjustable, padded shoulder straps and/or a chest strap for even weight distribution.
    • Breathable Materials: Look for breathable materials on the back panel to keep you cool and comfortable.
    • Weight: Consider the bag’s weight when empty. A lighter bag reduces the overall load you carry.

    Benefits:

    • Enhances comfort during long shoots or travel
    • Reduces strain on your body

    Assess Organization and Accessibility

    Efficient organization helps you quickly find and access your gear, making your shooting experience smoother.

    Key Features:

    • Multiple Compartments: Choose a bag with various compartments for cameras, lenses, and accessories.
    • Easy Access: Look for features like quick-access pockets or top-loading openings that allow you to grab your camera quickly.
    • Customizable Layout: A bag with adjustable dividers allows you to rearrange the interior based on your current needs.

    Benefits:

    • Streamlines your workflow
    • Ensures you can easily access gear when needed

    Consider Style and Aesthetics

    While functionality is crucial, the style of the bag also matters, especially if you prefer a bag that complements your personal style or is less conspicuous.

    Key Considerations:

    • Design: Choose a design that fits your taste, whether you prefer a sleek, modern look or a more classic style.
    • Color: Consider colors that match your style or help the bag blend in with your environment.

    Benefits:

    • Enhances your personal style
    • Ensures you feel good about carrying your bag

    Conclusion

    Selecting the perfect camera bag involves considering your gear needs, the type of bag, protection and padding, comfort, organization, and style. By evaluating these factors, you can find a camera bag that not only protects your equipment but also enhances your photography experience. Invest in a bag that suits your needs and preferences to ensure your gear stays safe and accessible, allowing you to focus on capturing stunning photos.

  • How to Choose the Best Lens for Your Photography Style

    How to Choose the Best Lens for Your Photography Style

    Selecting the right lens is crucial in photography, as it can significantly influence the quality and style of your images. With a variety of lenses available, each suited to different photographic needs, understanding which one aligns with your style and goals is key. This guide will help you navigate through the options to find the best lens for your photography style.


    1. Understanding Different Types of Lenses

    Prime Lenses:

    • Description: Prime lenses have a fixed focal length, meaning they don’t zoom. They are known for their sharpness, large apertures, and excellent low-light performance.
    • Ideal For: Portraits, low-light photography, and achieving a shallow depth of field.
    • Example: 50mm f/1.8

    Zoom Lenses:

    • Description: Zoom lenses offer a range of focal lengths, allowing you to zoom in and out without changing the lens. They are versatile and convenient for various shooting scenarios.
    • Ideal For: Events, travel, and situations where flexibility in focal length is needed.
    • Example: 24-70mm f/2.8

    Wide-Angle Lenses:

    • Description: Wide-angle lenses have a short focal length, providing a wider field of view. They are excellent for capturing expansive landscapes or large interiors.
    • Ideal For: Landscape photography, architecture, and group shots.
    • Example: 16-35mm f/4

    Telephoto Lenses:

    • Description: Telephoto lenses have a long focal length, allowing you to capture subjects from a distance. They are great for isolating subjects and achieving a compressed perspective.
    • Ideal For: Wildlife photography, sports, and portraiture with background compression.
    • Example: 70-200mm f/2.8

    Macro Lenses:

    • Description: Macro lenses are designed for close-up photography, enabling you to capture fine details of small subjects with high clarity.
    • Ideal For: Nature photography, product shots, and capturing intricate details.
    • Example: 100mm f/2.8 Macro

    2. Assessing Your Photography Style

    Portrait Photography:

    • Lens Recommendation: A prime lens with a large aperture (e.g., 50mm f/1.8 or 85mm f/1.4) is ideal for portraits. It allows for a shallow depth of field, making the subject stand out against a blurred background.

    Landscape Photography:

    • Lens Recommendation: A wide-angle lens (e.g., 16-35mm) is perfect for capturing expansive views and grand vistas. It helps to include more of the scene in your frame.

    Wildlife Photography:

    • Lens Recommendation: A telephoto lens (e.g., 70-200mm or 100-400mm) is essential for capturing distant wildlife. The extended reach helps in photographing animals without disturbing them.

    Travel Photography:

    • Lens Recommendation: A versatile zoom lens (e.g., 24-70mm) covers a range of focal lengths, making it ideal for various subjects and scenes encountered while traveling.

    Macro Photography:

    • Lens Recommendation: A macro lens (e.g., 100mm f/2.8) allows for close-up shots of small subjects, revealing intricate details that are not visible to the naked eye.

    3. Considerations When Choosing a Lens

    Aperture:

    • Importance: A larger aperture (smaller f-number) allows more light to enter the lens, which is beneficial for low-light conditions and achieving a shallow depth of field.
    • Recommendation: For portraits and low-light photography, consider lenses with apertures of f/1.8 or f/2.8.

    Focal Length:

    • Importance: The focal length affects the composition and perspective of your photos. Shorter focal lengths (wide-angle) capture more of the scene, while longer focal lengths (telephoto) allow for more zoom and isolation of subjects.
    • Recommendation: Choose based on your primary photography needs. For versatility, a zoom lens with a broad range is useful.

    Image Stabilization:

    • Importance: Image stabilization helps reduce camera shake, especially at slower shutter speeds or with longer focal lengths.
    • Recommendation: Consider lenses with built-in stabilization if you often shoot handheld or in low-light conditions.

    Lens Compatibility:

    • Importance: Ensure the lens is compatible with your camera body, both in terms of mount and sensor size (full-frame or crop sensor).
    • Recommendation: Check the manufacturer’s specifications or consult with a camera store to verify compatibility.

    4. Budget Considerations

    Entry-Level Lenses:

    • Description: Affordable lenses that offer good performance for beginners. They may lack advanced features but are great for starting out.
    • Example: Canon EF 50mm f/1.8 STM, Nikon AF-P DX 18-55mm f/3.5-5.6G VR

    Mid-Range Lenses:

    • Description: Lenses with improved optical quality and additional features like faster apertures and better build quality.
    • Example: Tamron 24-70mm f/2.8 Di VC USD, Sigma 18-50mm f/2.8 DC DN

    High-End Lenses:

    • Description: Professional-grade lenses offering superior image quality, advanced features, and robust construction.
    • Example: Canon RF 70-200mm f/2.8L IS USM, Nikon Z 24-70mm f/2.8 S

    Conclusion

    Choosing the best lens for your photography style involves understanding your needs, exploring different types of lenses, and considering your budget. Whether you’re into portraits, landscapes, or macro photography, selecting the right lens will enhance your creative potential and help you capture the images you envision. Start with a lens that complements your style and gradually expand your collection as your skills and interests evolve.

    Happy shooting!

  • Essential Photography Gear for Beginners

    Essential Photography Gear for Beginners

    Starting out in photography can be both exciting and overwhelming. With countless gear options available, knowing what to invest in can make a significant difference in your learning experience. Here’s a comprehensive guide to the essential photography gear you need as a beginner, helping you capture stunning images and develop your skills.


    1. Camera

    Choosing the Right Camera:

    • DSLR Cameras: Digital Single-Lens Reflex (DSLR) cameras are popular among beginners for their versatility and image quality. They offer interchangeable lenses and manual settings, which are great for learning photography fundamentals.
    • Mirrorless Cameras: These cameras are compact and lightweight while offering similar functionality to DSLRs. They’re a good option if you prefer a more portable solution without sacrificing performance.

    Recommended Models:

    • DSLR: Canon EOS Rebel T7 / EOS 2000D, Nikon D3500
    • Mirrorless: Sony Alpha a6000, Canon EOS M50

    Tip: Choose a camera with a good balance between features and ease of use. A camera with an intuitive interface will help you learn faster.


    2. Lenses

    Types of Lenses:

    • Kit Lens: Most beginner cameras come with a standard kit lens, usually an 18-55mm zoom lens. It’s a versatile choice for general photography and a great starting point.
    • Prime Lens: A fixed focal length lens, like a 50mm f/1.8, is ideal for portraits and low-light situations due to its wide aperture and sharpness.
    • Wide-Angle Lens: A 10-18mm lens is great for landscapes and architectural photography, providing a broader field of view.

    Tip: Start with a versatile kit lens and consider adding a prime lens for better low-light performance and sharper images.


    3. Tripod

    Why a Tripod is Essential:

    • Stability: A tripod stabilizes your camera, reducing camera shake and allowing for longer exposures, essential for low-light and night photography.
    • Versatility: It helps with compositions, long exposures, and shooting in challenging conditions.

    Recommended Models:

    • Beginner Tripod: Manfrotto Compact Action, AmazonBasics 60-Inch Lightweight Tripod

    Tip: Choose a tripod that is sturdy yet lightweight for ease of transport. Make sure it can support the weight of your camera and lens.


    4. Camera Bag

    Choosing the Right Camera Bag:

    • Protection: A camera bag protects your gear from damage and provides easy access when you’re on the move.
    • Organization: Look for bags with padded compartments to keep your camera and lenses organized and safe.

    Recommended Models:

    • Messenger Bag: Lowepro Slingshot Edge 250 AW
    • Backpack: Peak Design Everyday Backpack

    Tip: Choose a camera bag that fits your gear and personal style. Comfort and accessibility are key features to look for.


    5. Memory Cards

    Selecting the Best Memory Cards:

    • Capacity: A 32GB or 64GB card is usually sufficient for most beginner photographers, providing ample space for thousands of photos.
    • Speed: Look for cards with a high write speed to ensure quick data transfer and avoid delays when shooting.

    Recommended Models:

    • SanDisk Extreme Pro SDHC UHS-I
    • Lexar Professional 64GB SDXC UHS-I

    Tip: Always carry multiple memory cards to ensure you have enough storage for extended shoots.


    6. Extra Batteries

    Why Extra Batteries are Important:

    • Extended Shooting Time: Having extra batteries ensures you won’t run out of power during important moments.
    • Backup: It’s always good to have a backup in case your primary battery dies unexpectedly.

    Recommended Models:

    • Canon LP-E17 (for Canon cameras)
    • Nikon EN-EL14a (for Nikon cameras)

    Tip: Invest in high-quality, brand-compatible batteries to ensure reliability and longevity.


    7. Cleaning Kit

    Keeping Your Gear Clean:

    • Lens Cleaning: A lens cleaning kit helps keep your lens free from dust and smudges, ensuring sharp and clear images.
    • Sensor Cleaning: Use a sensor cleaning kit or have your sensor cleaned professionally to avoid dust spots on your photos.

    Recommended Kits:

    • Lens Cleaning Kit: Altura Photo Professional Cleaning Kit
    • Sensor Cleaning Kit: VisibleDust Arctic Butterfly

    Tip: Regularly clean your gear to maintain optimal performance and image quality.


    8. Remote Shutter Release

    Why Use a Remote Shutter Release:

    • Prevent Camera Shake: A remote shutter release allows you to take photos without touching the camera, minimizing camera shake and improving image sharpness.
    • Long Exposures: It’s useful for capturing long exposures or self-portraits.

    Recommended Models:

    • Canon RC-6 Wireless Remote
    • Nikon ML-L3 Wireless Remote

    Tip: A remote shutter release can also be controlled via smartphone apps for added convenience.


    9. Lens Filters

    Types of Lens Filters:

    • UV Filters: Protect your lens from dust, scratches, and UV light, though they are less essential with modern digital sensors.
    • Polarizing Filters: Reduce reflections and enhance colors, making them great for outdoor photography and landscapes.

    Recommended Models:

    • UV Filter: Hoya UV (C) Filter
    • Polarizing Filter: B+W Circular Polarizer

    Tip: Select filters based on the types of photography you enjoy most and ensure they are compatible with your lens size.


    10. Photography Software

    Editing Software:

    • Adobe Lightroom: Offers powerful tools for photo editing and organization, ideal for beginners looking to enhance their images.
    • Adobe Photoshop: Provides advanced editing features for more complex adjustments and retouching.

    Tip: Familiarize yourself with basic editing techniques to improve your photos and bring your creative vision to life.


    Conclusion

    Having the right gear can make a significant difference as you embark on your photography journey. By investing in essential equipment like a good camera, versatile lenses, and supportive accessories, you’ll be well-equipped to capture stunning images and explore the art of photography. Start with these basics, and as your skills and interests evolve, you can expand your gear collection to suit your needs.

    Happy shooting!