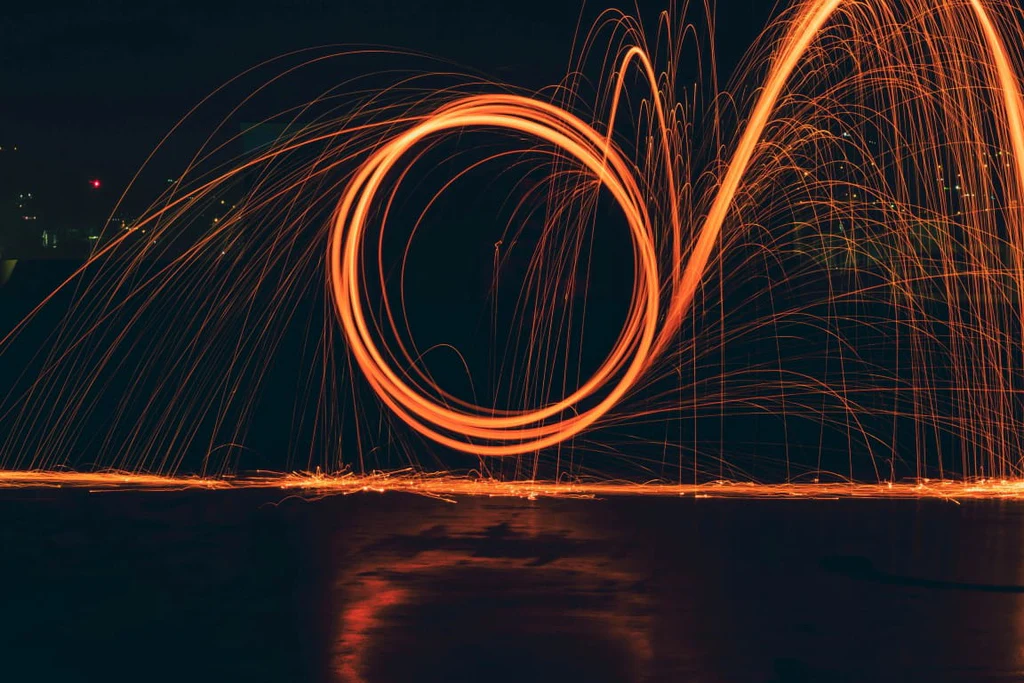
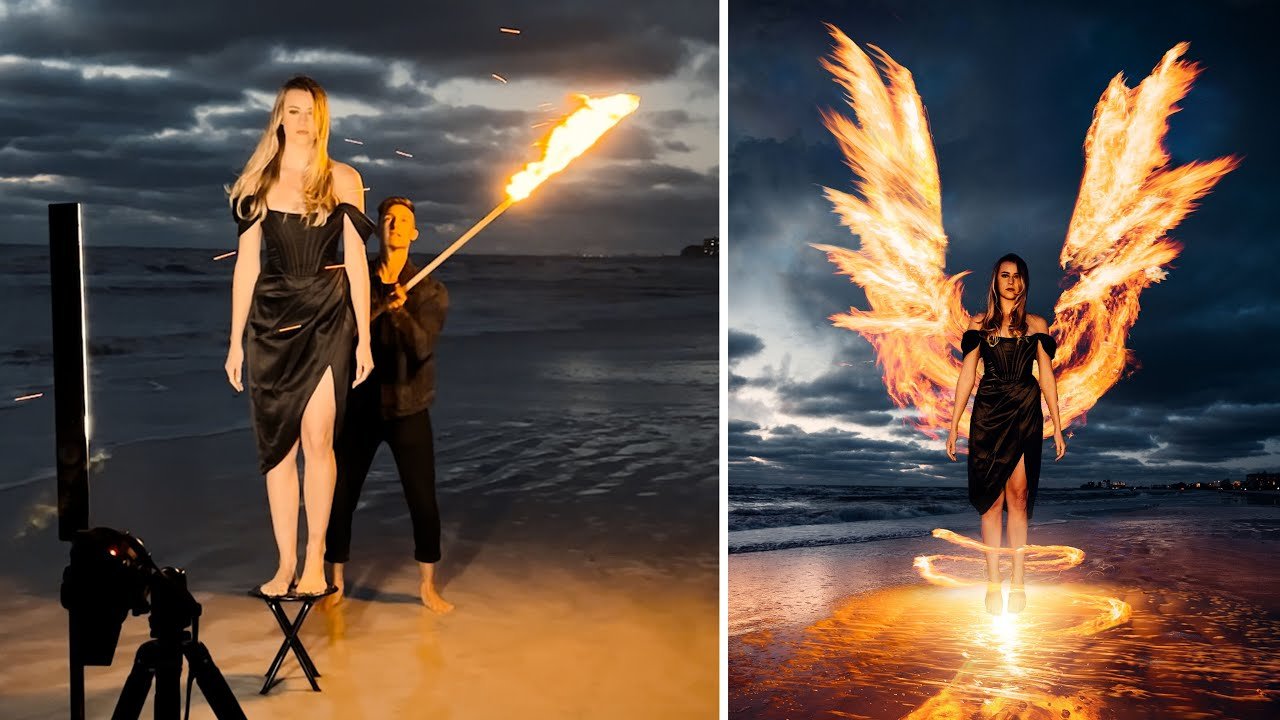
Long exposure photography is a powerful technique that allows you to capture the passage of time in a single image. By using slow shutter speeds, you can create stunning effects like smooth water, light trails, star trails, and motion blur that transform ordinary scenes into extraordinary works of art. Whether you’re new to long exposure photography or looking to refine your skills, this guide will walk you through the steps to capture creative long exposure shots.
1. Understanding Long Exposure Photography
Long exposure photography involves using a slow shutter speed to capture an image over a longer period. Unlike typical photos where the shutter speed is fast enough to freeze motion, long exposure shots capture movement, resulting in effects like blurred water, streaking car lights, or the smooth movement of clouds.
When to Use Long Exposure:
- Night Photography: Capture the motion of stars, city lights, or fireworks.
- Waterfalls and Rivers: Smooth out the flow of water to create a silky effect.
- Busy Streets: Turn moving cars or pedestrians into light trails or ghostly figures.
- Clouds and Sky: Capture the motion of clouds or the rotation of stars over time.
2. Essential Gear for Long Exposure Photography

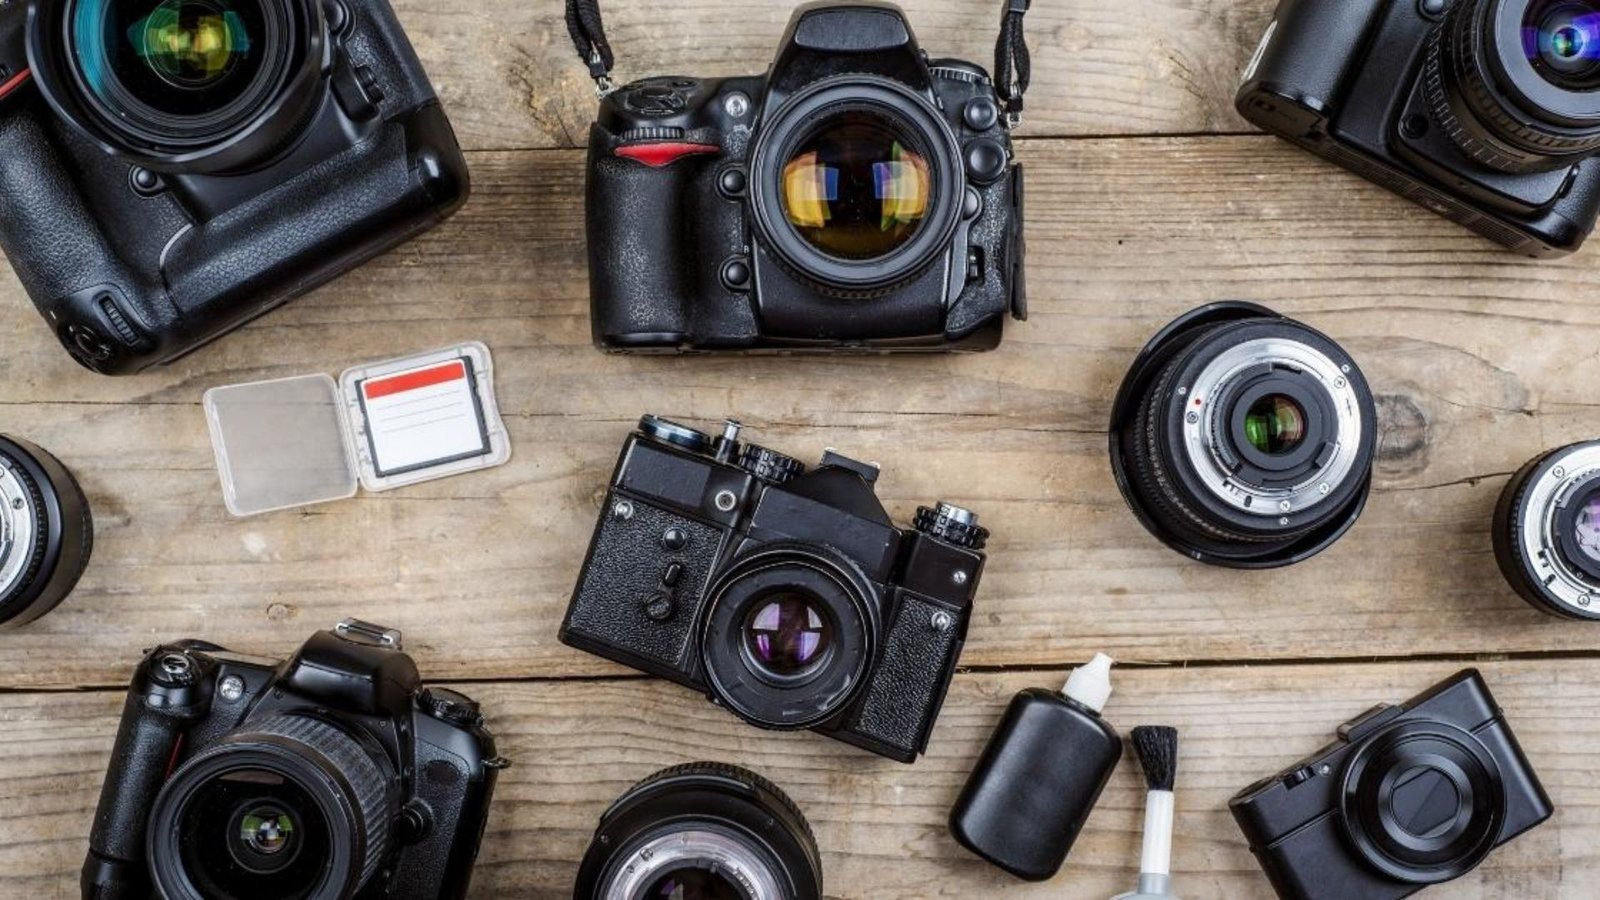
To achieve the best results in long exposure photography, having the right gear is crucial:
- Camera: Any camera that allows manual control of shutter speed will work, including DSLRs, mirrorless cameras, and some advanced smartphones.
- Tripod: A sturdy tripod is essential to keep your camera steady during long exposures, preventing unwanted blur.
- Remote Shutter Release: A remote or cable release helps you trigger the shutter without touching the camera, minimizing camera shake.
- ND Filters: Neutral Density (ND) filters reduce the amount of light entering the lens, allowing for longer exposures even in bright conditions.
3. Choosing the Right Settings
To capture creative long exposure shots, you’ll need to adjust several camera settings:
- Shutter Speed: The key to long exposure photography is a slow shutter speed. Start with speeds of 1 second or longer, depending on the effect you want. For light trails or star trails, try exposures of 10 seconds or more.
- Aperture: A small aperture (high f-stop number like f/11 or f/16) helps reduce the amount of light entering the lens, which is useful for long exposures during daylight. It also increases depth of field, keeping more of the scene in focus.
- ISO: Use a low ISO setting (e.g., ISO 100 or 200) to minimize noise and grain in your images. Higher ISOs can introduce noise, especially in longer exposures.
- Manual Focus: Set your focus manually to avoid the camera struggling in low light conditions. Focus on a stationary object, then switch to manual mode to lock the focus.
4. Techniques for Creative Long Exposure Shots
Here are some popular techniques to try:
- Light Trails: Position yourself near a busy road or intersection at night. Use a slow shutter speed (5-30 seconds) to capture the streaks of car headlights and taillights. Experiment with different angles and perspectives to create dynamic compositions.
- Smooth Water: Capture the smooth, silky effect of flowing water by setting up near a waterfall, river, or ocean. Use a shutter speed of 1-30 seconds, depending on the speed of the water. An ND filter can help you achieve this effect even in bright daylight.
- Star Trails: Point your camera towards the night sky and set a very long exposure (15 minutes or longer) to capture the movement of stars as the Earth rotates. For best results, use a low ISO and a small aperture, and ensure your tripod is on solid ground.
- Motion Blur: Capture the blur of moving subjects while keeping the rest of the image sharp. This effect works well with fast-moving subjects like people, animals, or vehicles. Experiment with shutter speeds between 1/4 and 2 seconds.
- Zoom Burst: This technique involves zooming in or out while the shutter is open, creating a dynamic, abstract effect. Set your shutter speed to 1-2 seconds, and manually zoom your lens during the exposure.
- Panning: Follow a moving subject with your camera while using a slow shutter speed. The subject will remain relatively sharp, while the background blurs, conveying a sense of motion.
5. Post-Processing Tips
Editing plays a crucial role in enhancing your long exposure photos:
- Adjust Exposure and Contrast: Fine-tune the exposure and contrast to bring out details in both the highlights and shadows.
- Reduce Noise: Long exposures, especially in low light, can introduce noise. Use noise reduction tools in your editing software to clean up your image.
- Enhance Colors: Boost the vibrancy and saturation of colors to make your image pop, especially in night scenes or light trails.
- Sharpening: Apply selective sharpening to key areas of the image, like light trails or stars, to make them stand out.
6. Experimenting and Practicing
Long exposure photography is a creative process that rewards experimentation. Try different shutter speeds, compositions, and subjects to discover what works best for your style. Practice is key—each shot is an opportunity to learn and refine your technique.
Conclusion
Long exposure photography opens up a world of creative possibilities, allowing you to capture the passage of time in a single frame. By mastering the basics of slow shutter speeds, composition, and camera settings, you can create stunning images that stand out. Whether you’re shooting light trails, smooth water, or starry skies, the techniques outlined in this guide will help you take your long exposure shots to the next level. So grab your camera, set up your tripod, and start experimenting with the captivating art of long exposure photography.


