Exposure is the foundation of photography, determining how light or dark an image will appear. Getting the right exposure is crucial for capturing the details, colors, and mood of a scene. Whether you’re new to photography or looking to refine your skills, understanding exposure will help you take control of your camera and create perfectly balanced photos. In this guide, we’ll break down the three key elements of exposure—aperture, shutter speed, and ISO—and show you how to master them.
1. What is Exposure?
Exposure refers to the amount of light that reaches your camera’s sensor. It determines how bright or dark your final image will be. Proper exposure ensures that your photo has the right amount of light to capture the details in both the highlights (bright areas) and shadows (dark areas).
The goal of exposure is to create a balanced image where neither the highlights are too bright (overexposed) nor the shadows too dark (underexposed). This balance is achieved by controlling three key settings on your camera: aperture, shutter speed, and ISO.
2. The Exposure Triangle: Aperture, Shutter Speed, and ISO
The exposure triangle is a concept that explains how aperture, shutter speed, and ISO work together to control exposure. Understanding this relationship is key to mastering exposure.

- Aperture (f-stop): Aperture refers to the size of the opening in the lens through which light enters the camera. It’s measured in f-stops (e.g., f/1.8, f/4, f/11). A lower f-stop number means a larger aperture, allowing more light to reach the sensor, while a higher f-stop number means a smaller aperture, allowing less light in.
- Effect on Exposure: A larger aperture (lower f-stop) results in a brighter image, while a smaller aperture (higher f-stop) results in a darker image.
- Effect on Depth of Field: Aperture also controls the depth of field, or how much of the image is in focus. A larger aperture (lower f-stop) creates a shallow depth of field, blurring the background and making the subject stand out. A smaller aperture (higher f-stop) increases the depth of field, keeping more of the scene in focus.
- Shutter Speed: Shutter speed refers to the amount of time the camera’s shutter remains open to allow light onto the sensor. It’s measured in seconds or fractions of a second (e.g., 1/1000, 1/60, 2 seconds). A faster shutter speed means the shutter is open for a shorter time, while a slower shutter speed means it’s open for a longer time.
- Effect on Exposure: A faster shutter speed lets in less light, resulting in a darker image, while a slower shutter speed lets in more light, resulting in a brighter image.
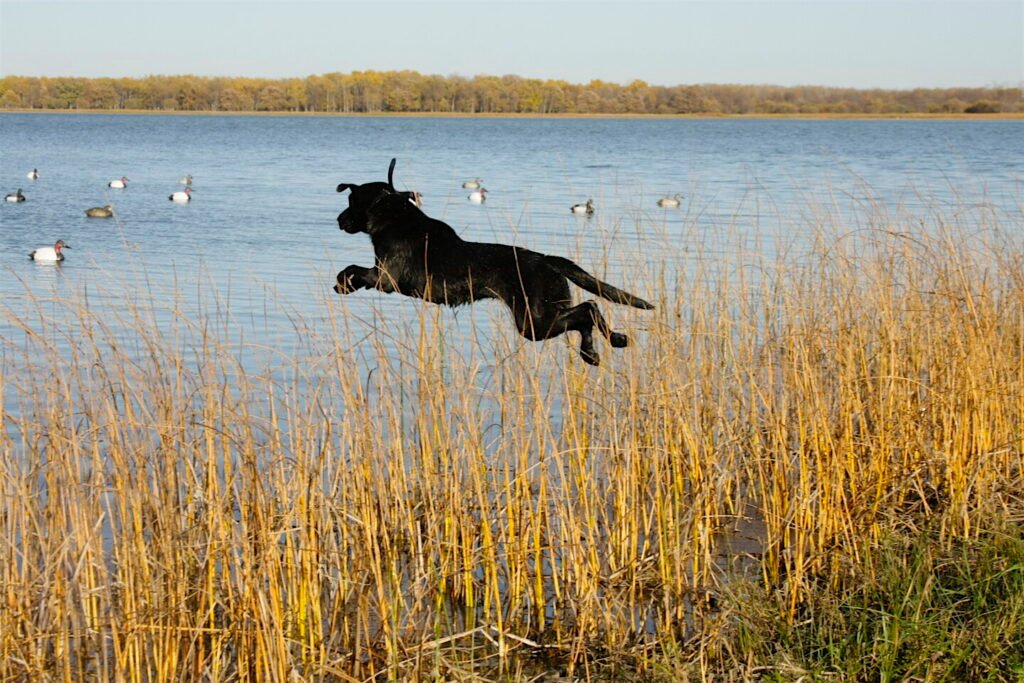
- Effect on Motion: Shutter speed also controls how motion is captured. A fast shutter speed freezes action, ideal for sports or wildlife photography. A slow shutter speed creates motion blur, which can be used creatively in scenes with moving elements, like waterfalls or traffic.
- ISO: ISO refers to the sensitivity of your camera’s sensor to light. A lower ISO number (e.g., 100, 200) means less sensitivity and is ideal for bright conditions. A higher ISO number (e.g., 800, 1600) increases sensitivity, useful in low-light situations.
- Effect on Exposure: Increasing the ISO brightens the image, while decreasing the ISO darkens it.
- Effect on Image Quality: While a higher ISO allows you to shoot in low light, it can also introduce noise or grain into the image. It’s important to balance ISO with aperture and shutter speed to maintain image quality.
3. Achieving the Perfect Exposure
Balancing aperture, shutter speed, and ISO is the key to achieving the perfect exposure. Here’s how to approach it:
- Start with ISO: Begin by setting the ISO according to the lighting conditions. Use the lowest ISO possible for the best image quality. If you’re shooting in bright daylight, keep the ISO low (e.g., 100 or 200). In low-light situations, increase the ISO, but be mindful of noise.
- Set Your Aperture: Next, decide on the aperture based on the desired depth of field. If you want a blurred background for a portrait, choose a large aperture (low f-stop). For landscapes, where you want everything in focus, opt for a smaller aperture (high f-stop).
- Adjust Shutter Speed: Finally, adjust the shutter speed to achieve the correct exposure. If the image is too dark, slow down the shutter speed to let in more light. If it’s too bright, increase the shutter speed.
- Use the Exposure Meter: Most cameras have an exposure meter in the viewfinder or on the screen. This meter indicates whether the current settings will result in an overexposed, underexposed, or correctly exposed image. Aim to keep the meter at zero or in the center for a balanced exposure.
4. Creative Uses of Exposure
While getting a balanced exposure is important, creative photography often involves playing with exposure settings to achieve different effects.
- High Key vs. Low Key: High key photography involves deliberately overexposing the image to create a bright, airy look with minimal shadows. It’s often used in portraiture for a soft, flattering effect. Low key photography, on the other hand, involves underexposing the image to create a dark, moody atmosphere with deep shadows and dramatic lighting.
- Long Exposure: By using a slow shutter speed, you can create long exposure photos that capture movement over time, such as light trails, smooth water, or star trails in the night sky. This technique requires a tripod to keep the camera steady during the long exposure.
- Silhouettes: Silhouettes are created by exposing for the bright background, rendering the subject as a dark shape against a lighter backdrop. This technique is particularly effective during sunrise or sunset when the light is low, and the contrast between the subject and background is strong.
5. Troubleshooting Common Exposure Issues
Exposure can be tricky, especially in challenging lighting conditions. Here are some common exposure issues and how to fix them:
- Overexposure: If your image is too bright, try decreasing the ISO, closing the aperture (higher f-stop), or increasing the shutter speed. You can also use exposure compensation to dial down the brightness.
- Underexposure: If your image is too dark, increase the ISO, open up the aperture (lower f-stop), or slow down the shutter speed. Be cautious with ISO to avoid introducing too much noise.
- Backlighting Issues: When shooting against a strong light source, like the sun, your subject might appear too dark. Use spot metering to expose for the subject, or use fill flash or a reflector to add light to the subject.
Conclusion
Understanding exposure is a fundamental skill in photography that allows you to take control of your images. By mastering the exposure triangle—aperture, shutter speed, and ISO—you can achieve the perfect exposure in any situation. Whether you’re aiming for a balanced, well-lit photo or experimenting with creative effects, knowing how to manipulate exposure settings will help you capture the shot you envision. With practice, adjusting exposure will become second nature, enabling you to consistently produce stunning, well-exposed photos.


