Shooting videos in low light can be challenging but also rewarding when done right. Whether you’re filming a nighttime scene, capturing footage indoors, or shooting in natural low-light environments like a concert or event, there are techniques and settings that can drastically improve the quality of your video. Below, we’ll explore how to shoot videos in low-light conditions, so you can produce crisp, clear footage even when the lighting isn’t ideal.
1. Use a Fast Lens: Optimize Your Aperture
One of the most effective ways to improve your low-light video quality is to use a lens with a wide aperture (also known as a “fast lens”). The aperture controls how much light enters your camera, and a wider aperture (lower f-stop number) lets in more light.
- Look for a lens with a large aperture, such as f/1.4, f/1.8, or f/2.8. These lenses perform better in low-light settings because they allow more light to reach the camera’s sensor, resulting in brighter footage without needing to increase ISO too much.
- Avoid f/4 or smaller apertures in low-light situations, as they let in less light and can result in darker footage.

Tip: Pairing a fast lens with proper camera settings will give you the best results when filming in low light.
2. Increase Your ISO Settings (But Be Careful!)
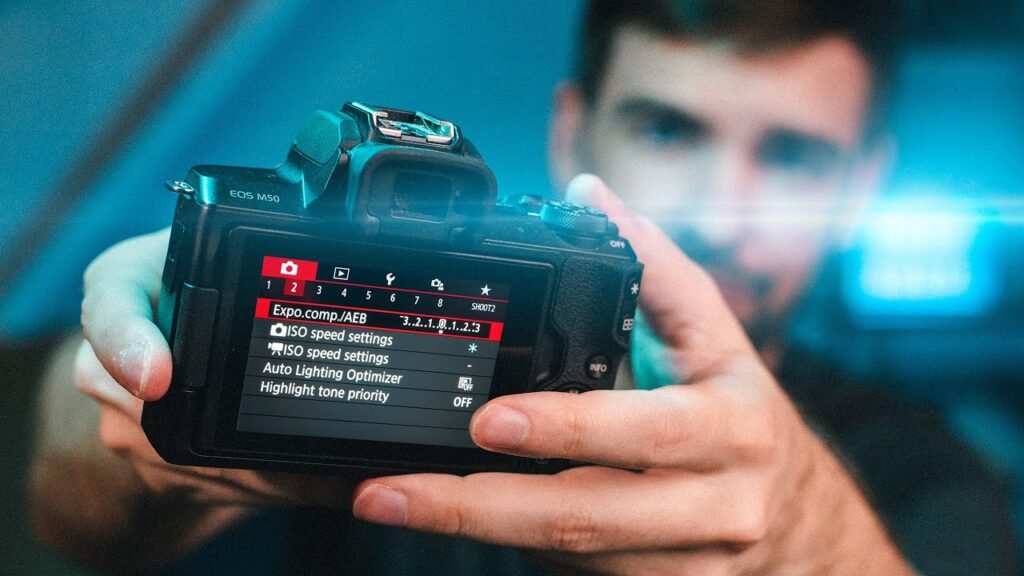
ISO controls your camera’s sensitivity to light, and increasing the ISO can make your footage brighter. However, boosting the ISO too much can introduce digital noise (grainy footage), so it’s important to find the right balance.
- Start by gradually increasing your ISO—typically, ISO values between 800 and 3200 work well for low-light conditions without introducing excessive noise.
- Avoid using the maximum ISO settings unless absolutely necessary, as higher ISO levels can lead to noticeable grain and a reduction in image quality.
Tip: If possible, test your camera’s ISO limits beforehand to determine the highest usable ISO value before noise becomes problematic.
3. Slow Down Your Shutter Speed
Slowing down the shutter speed allows your camera to gather more light per frame, which brightens up your video in low light. However, reducing the shutter speed also means more motion blur, so this technique is most effective for static or slow-moving subjects.
- Use a shutter speed that is double your frame rate. For example, if you’re shooting at 24 frames per second (fps), your shutter speed should ideally be 1/48 or 1/50.
- If motion blur isn’t an issue, you can reduce the shutter speed even further to let in more light.
Tip: Be cautious of moving subjects—too much motion blur can ruin the clarity of your video.
4. Utilize External Lighting When Possible
Even in low-light conditions, adding small external lights can significantly improve your video’s quality. There are many portable lighting solutions available that are easy to use and unobtrusive.
- LED panels or ring lights: These are great for adding soft, diffuse lighting to your subject. Many LED panels are adjustable in brightness and color temperature, giving you flexibility.
- Practical lights: Use existing sources of light like lamps, candles, or streetlights to naturally illuminate your scene.
- On-camera lights: Small, attachable lights can be mounted on your camera to provide a consistent light source wherever you go.
Tip: Adjust your lighting to enhance the scene without overexposing your subject.
5. Use Camera Stabilization to Reduce Blur
In low light, slower shutter speeds can cause camera shake, leading to blurry footage. Using a tripod, gimbal, or other stabilization gear helps keep your shots steady, which is particularly important when shooting handheld.
- Tripods are ideal for static shots, especially when you need to reduce your shutter speed.
- Gimbals allow for smooth, stable motion shots without unwanted shake.
- Built-in stabilization: Many modern cameras and lenses have built-in stabilization, which can help reduce motion blur in low-light situations.
Tip: Stabilization is especially crucial if you’re using slower shutter speeds in very low-light environments.
6. Shoot in RAW Video Format (If Available)
Shooting in RAW format (or a high-bitrate format) can preserve more details in your footage, especially in low-light situations. RAW footage retains more information, allowing you to adjust exposure, brightness, and shadows during post-production without sacrificing quality.
- Use RAW if your camera supports it—this gives you much more flexibility when editing.
- Be prepared for larger file sizes: RAW video files are significantly larger than compressed formats like MP4, so make sure you have enough storage.
Tip: RAW format is great for post-production flexibility, but if storage or processing power is an issue, shoot in a higher-bitrate format.
7. Take Advantage of Post-Production Editing
If you’ve shot your video in low light, post-production can help enhance the footage even further. Editing software like Adobe Premiere Pro, Final Cut Pro, or DaVinci Resolve offers tools to brighten dark footage and reduce noise.
- Increase exposure and brightness in post-production carefully to avoid washing out the image.
- Use noise reduction tools to minimize grain caused by high ISO settings.
- Adjust color grading to enhance the mood of your low-light video, whether you’re aiming for a warm, intimate feel or a cold, mysterious vibe.
Tip: Always back up your original footage before making any significant edits, as you may need to revert if the changes negatively impact the video quality.
8. Use Fast Memory Cards for Low-Light Recording
When shooting in low light, you may be recording at a higher bitrate or using slower shutter speeds, which requires more data to be written to your memory card. A fast memory card ensures that your camera can handle this data load without dropping frames or causing recording errors.
- Use a memory card with a high write speed (such as UHS-II or V90 cards) to accommodate large video files and fast data writing.
- Check your camera’s compatibility with higher-speed cards to ensure optimal performance.
Tip: Having multiple memory cards on hand is always useful for longer shoots or when filming in higher-quality formats.
Conclusion
Shooting videos in low light can be tricky, but with the right techniques and gear, you can produce stunning footage even in challenging conditions. Focus on using a fast lens, optimizing your camera settings, incorporating lighting when possible, and using stabilization tools to keep your shots steady. Don’t forget that post-production is your friend when it comes to refining the final look of your low-light videos. With these tips, you’ll be well on your way to mastering low-light videography and capturing beautiful, atmospheric scenes.


