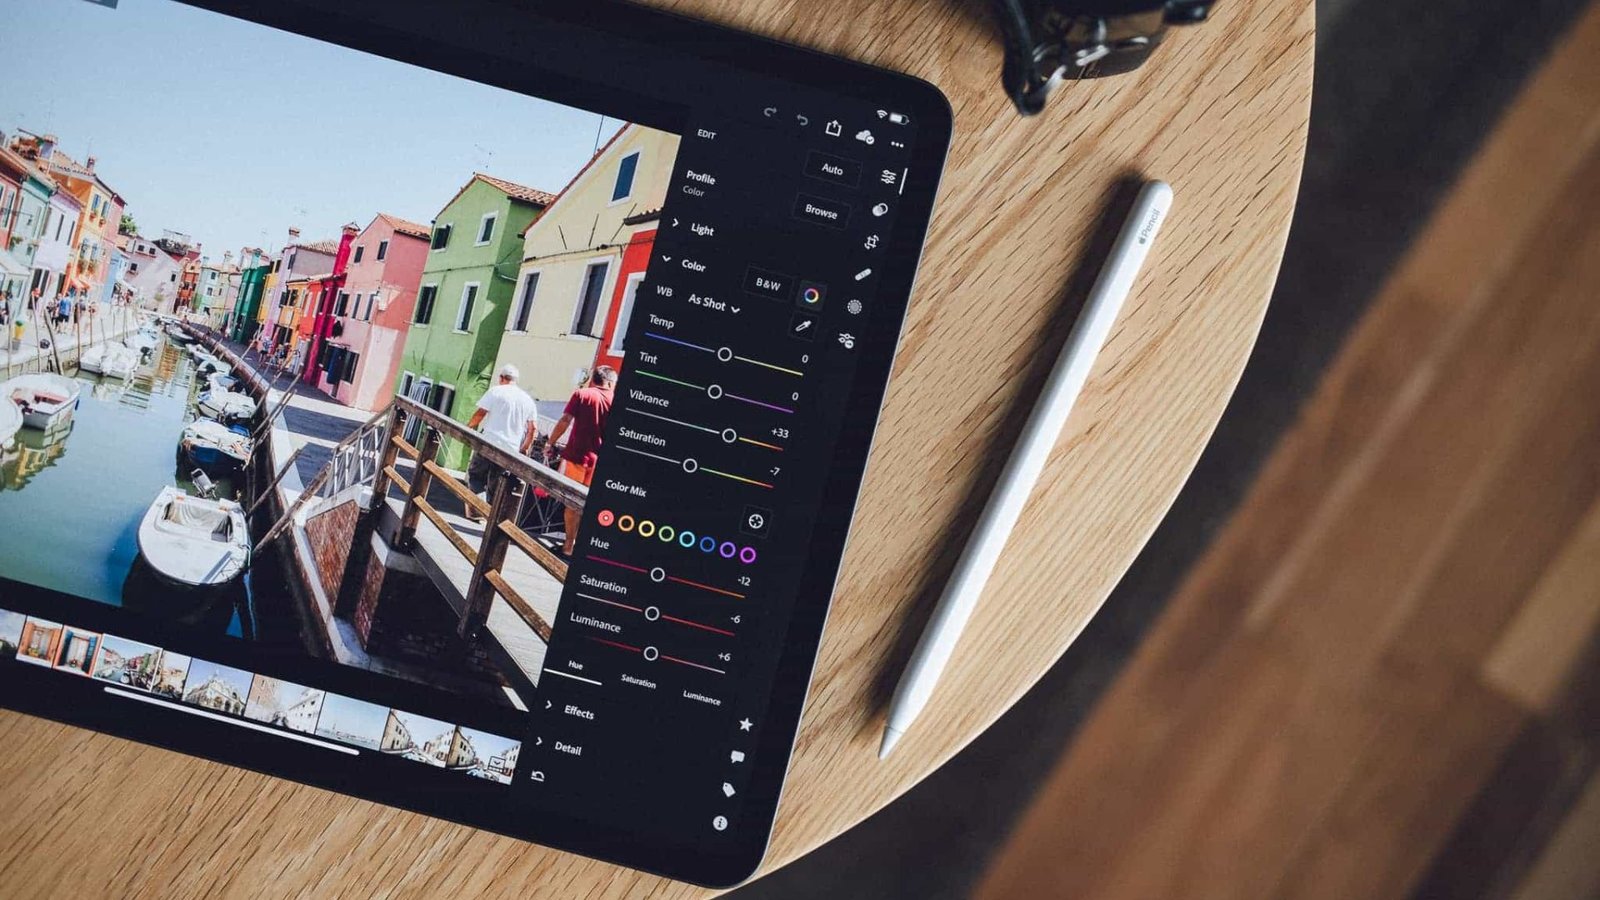
Adobe Lightroom is a powerful tool for photographers, offering a comprehensive suite of features for editing and organizing photos. Whether you’re a beginner or an experienced photographer, mastering Lightroom can elevate your photo editing skills and help you achieve professional-looking results. Here’s a detailed guide on how to edit photos like a pro using Lightroom.

Getting Started: Import and Organize Your Photos
Importing Photos
- How to Do It: Open Lightroom and click on the “Import” button. Select the photos you want to edit from your computer or external storage. Choose your import settings, including file handling and metadata options.
- Tips: Use folders and collections to keep your photos organized. Add keywords and ratings to make searching and sorting easier.
Organizing Your Library
- How to Do It: Use the Library module to manage your photos. Apply filters, sort by metadata, and create collections for better organization.
- Tips: Use smart collections and filters to quickly find and group photos based on criteria like keywords, ratings, and flags.
Basic Adjustments: Enhancing Your Images
Exposure and Contrast
- How to Do It: In the Develop module, adjust the exposure slider to correct overall brightness. Use the contrast slider to increase or decrease the difference between light and dark areas.
- Tips: Make small adjustments to avoid overexposing highlights or losing detail in shadows.
White Balance
- How to Do It: Use the white balance tool to correct color temperature and tint. You can select a preset (e.g., Daylight, Cloudy) or manually adjust the temperature and tint sliders.
- Tips: Use the eyedropper tool to click on a neutral area of your image for accurate white balance correction.
Clarity and Sharpness
- How to Do It: Adjust the clarity slider to enhance midtone contrast, giving your photo more definition. Use the sharpening tools to increase detail and crispness.
- Tips: Be cautious with sharpening; excessive use can create noise or halos around edges.
Advanced Adjustments: Fine-Tuning Your Photos
Curves
- How to Do It: Use the Tone Curve panel to adjust brightness and contrast in different tonal ranges (shadows, midtones, highlights). Create a curve to control tonal adjustments more precisely.
- Tips: Use the RGB curve for overall brightness or adjust individual color channels (Red, Green, Blue) for color corrections.
HSL/Color Panel
- How to Do It: Adjust hue, saturation, and luminance for specific colors using the HSL/Color panel. Fine-tune individual colors to enhance or correct their appearance.
- Tips: Use color sliders to make specific colors pop or tone them down, improving overall color balance and impact.
Local Adjustments
- How to Do It: Use tools like the Adjustment Brush, Graduated Filter, and Radial Filter to make localized adjustments. Apply effects or corrections to specific areas of your photo.
- Tips: Use masks and feathering to blend adjustments seamlessly with the surrounding areas.
Retouching and Spot Removal
Spot Removal Tool
- How to Do It: Use the Spot Removal tool to fix blemishes, dust spots, or other unwanted elements. Select the tool and click on the area you want to correct.
- Tips: Adjust the size and feathering of the brush for precise spot removal. Use the Heal mode for blending with surrounding areas.
Enhance Details
- How to Do It: Use the Detail panel to enhance fine details and textures. Adjust sliders for sharpening and noise reduction.
- Tips: Avoid over-sharpening, which can introduce artifacts. Use noise reduction to minimize unwanted noise, especially in low-light images.
Creative Adjustments: Adding Artistic Flair
Vignettes
- How to Do It: Apply a vignette to darken the edges of your photo and draw attention to the center. Adjust the Amount and Midpoint sliders for desired effect.
- Tips: Use subtle vignettes to avoid overpowering your image. Adjust the feathering to blend the vignette smoothly.
Color Grading
- How to Do It: Use the Color Grading panel to apply creative color tones to your shadows, midtones, and highlights. Adjust the hue and saturation for each tonal range.
- Tips: Experiment with different color combinations to achieve a unique look or mood for your photo.
Exporting Your Photos
Export Settings
- How to Do It: Click on the “Export” button to save your edited photos. Choose your file format (e.g., JPEG, TIFF), quality settings, and destination folder.
- Tips: Adjust export settings based on your intended use (e.g., web, print). Use export presets for consistency and efficiency.
Backup and Storage
- How to Do It: Regularly back up your photos and edits to avoid data loss. Use cloud storage or external drives for additional security.
- Tips: Organize your backups to keep track of different versions and projects.
Conclusion
Editing photos like a pro using Lightroom involves mastering both basic and advanced techniques. By organizing your photos, making precise adjustments, and applying creative effects, you can enhance your images and achieve stunning results. With practice and experimentation, Lightroom can become a powerful tool in your photography workflow, helping you create professional-quality images with ease. Embrace the capabilities of Lightroom, and let your creativity shine through in every edit.


